


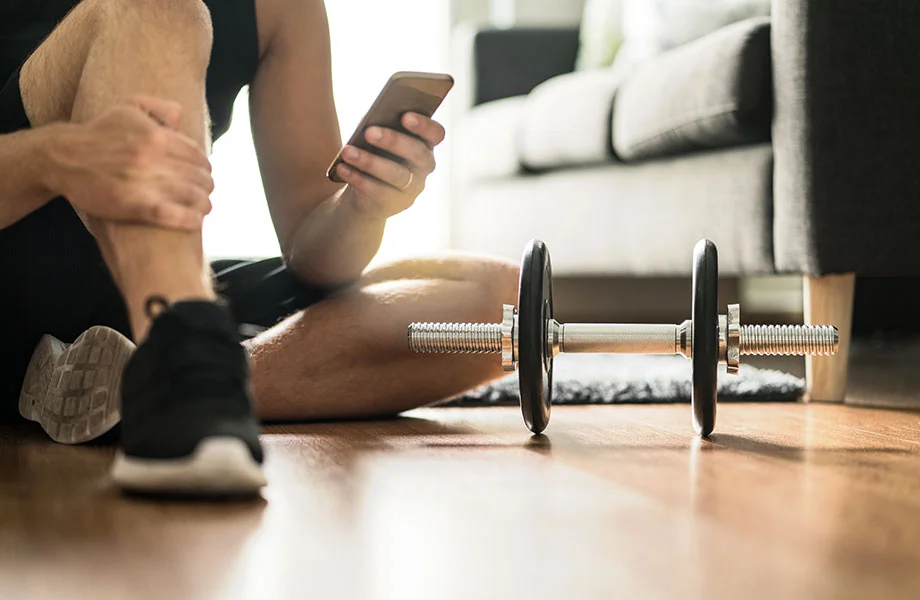
The Best Strength Equipment for Every Home Gym
Find the top gear to take your training to the next level.
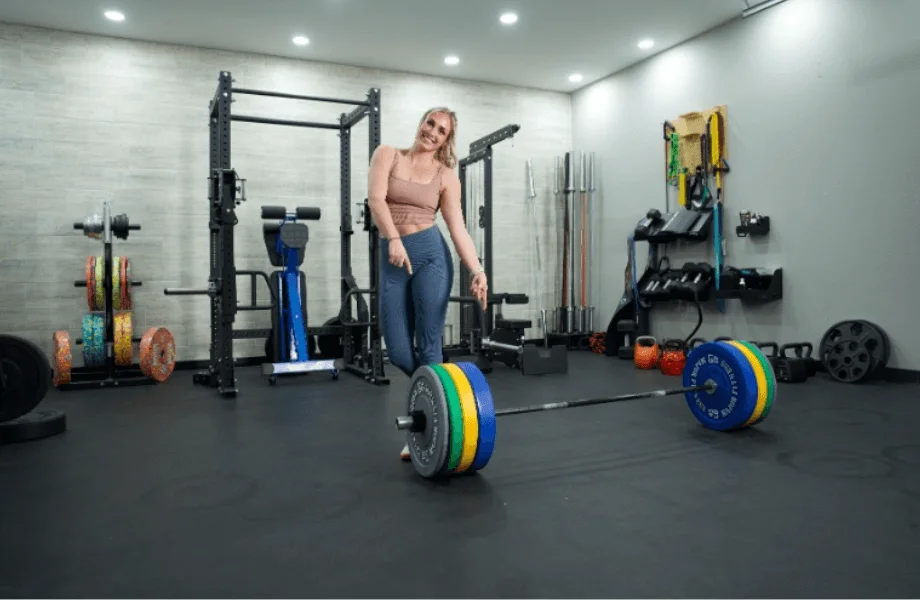
Best Home Gyms
July 16, 2026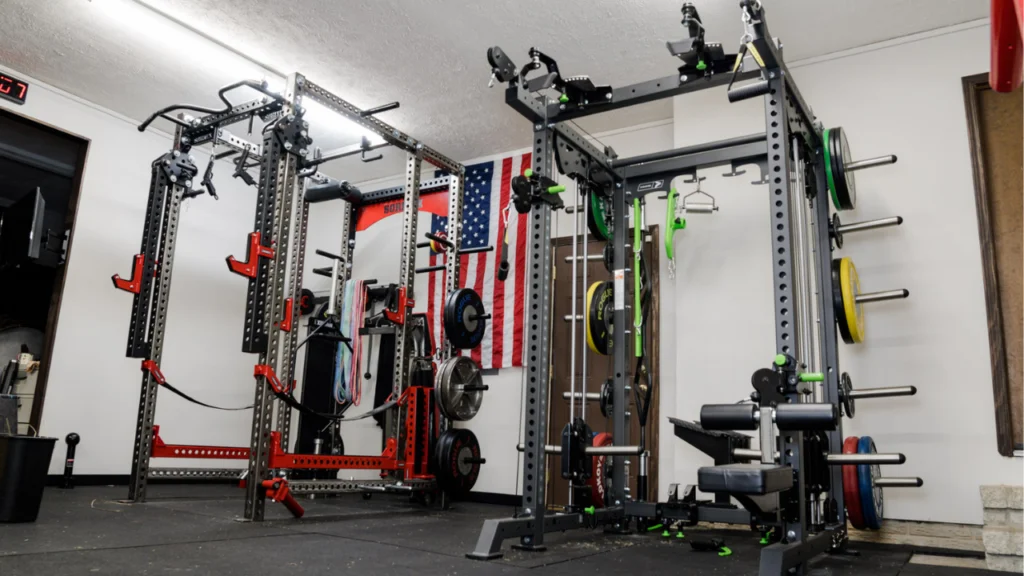
Best Squat Racks
July 6, 2026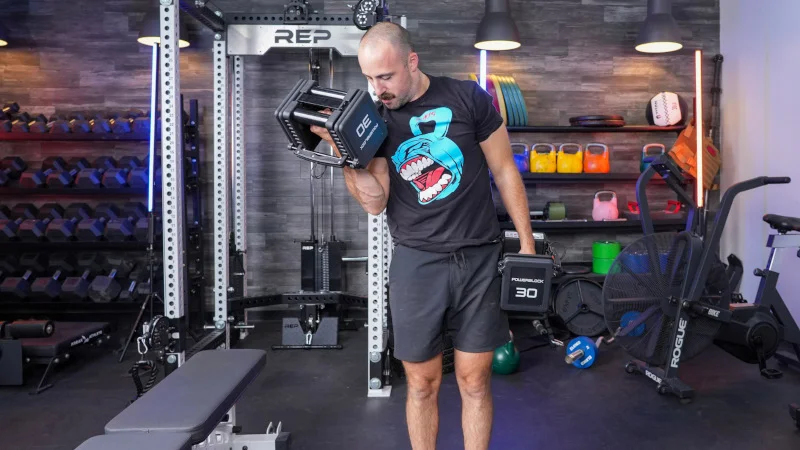
Best Dumbbells
July 6, 2026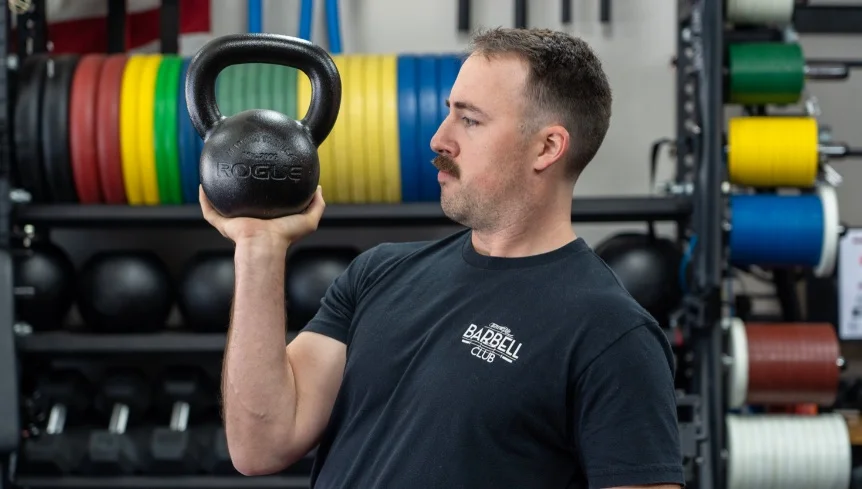
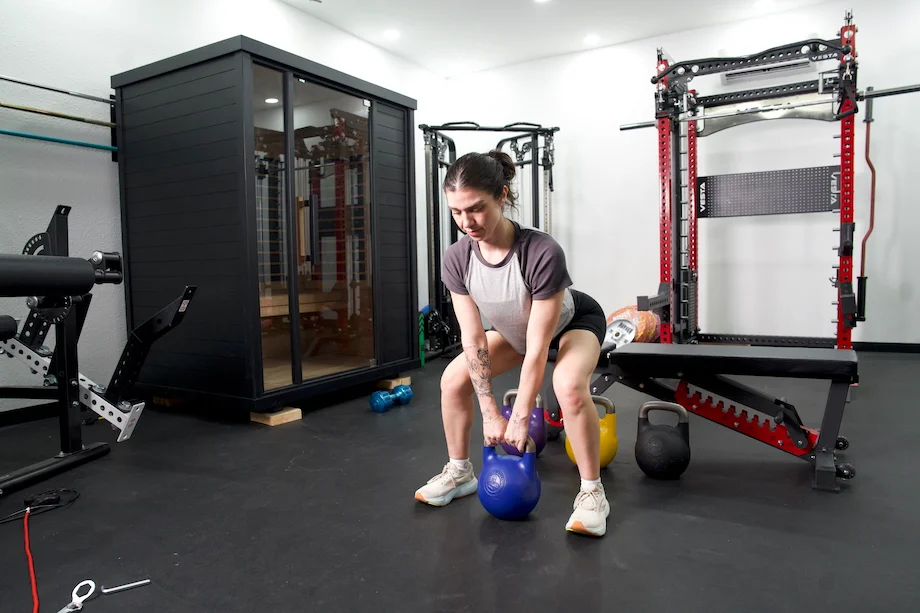
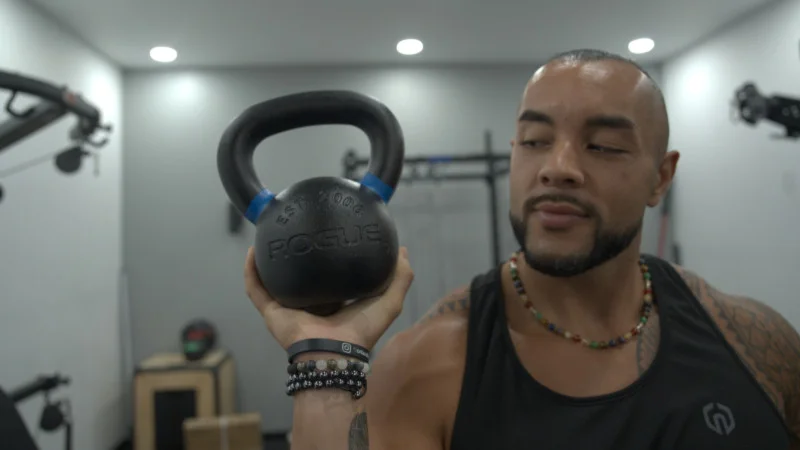
Best Kettlebells
May 28, 2026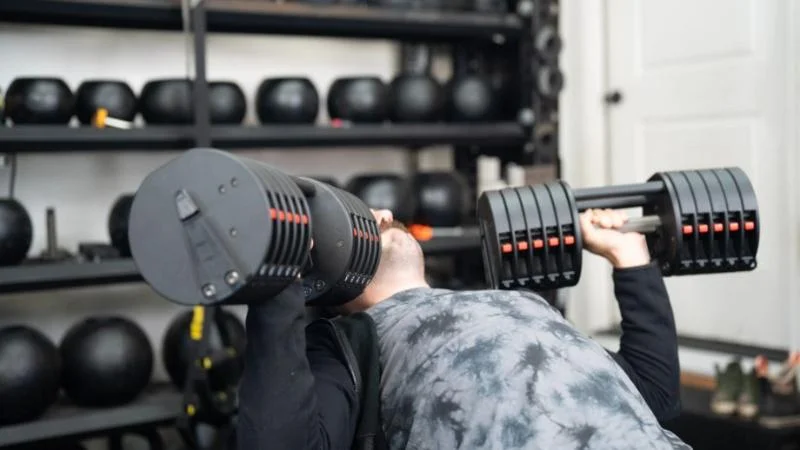
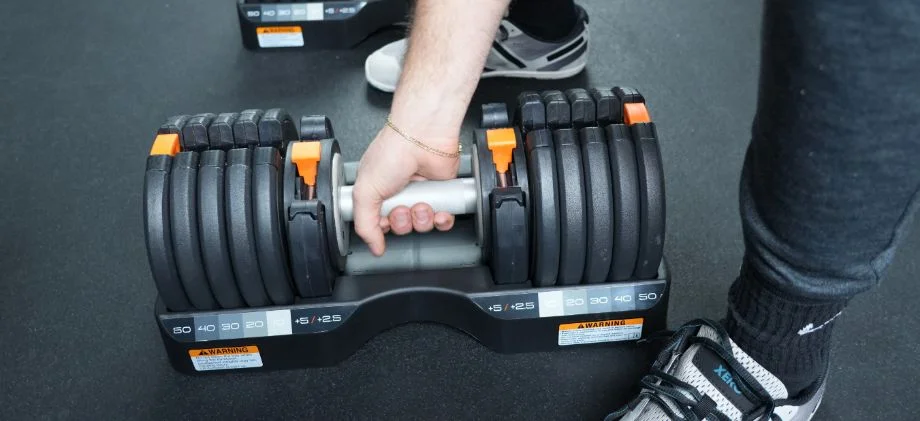
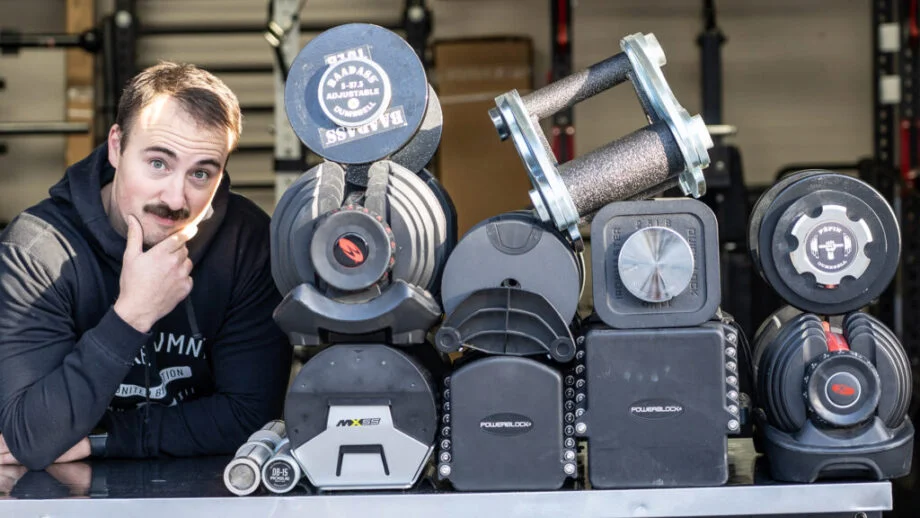
Best Adjustable Dumbbells
July 10, 2026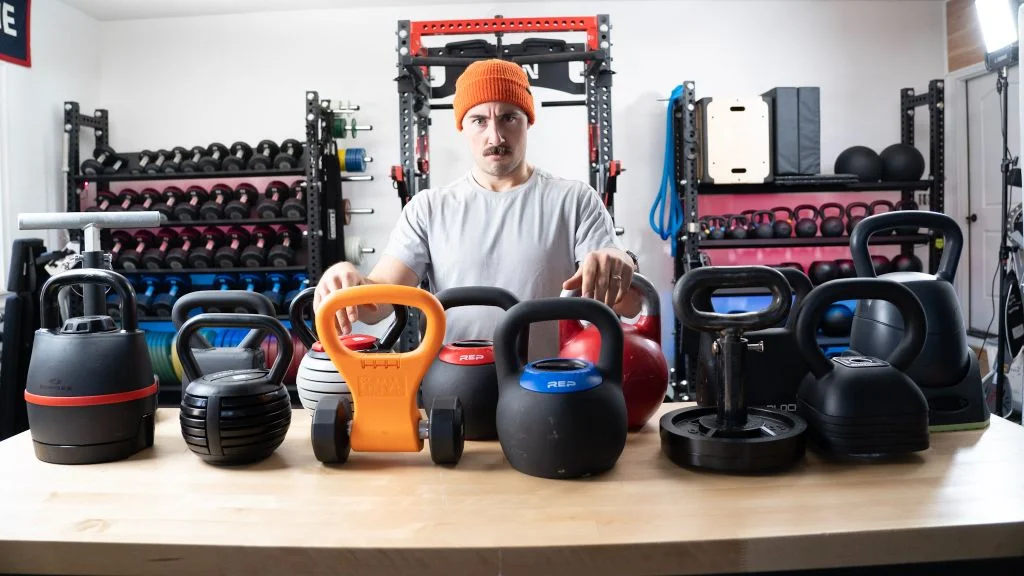
Best Adjustable Kettlebells
June 2, 2026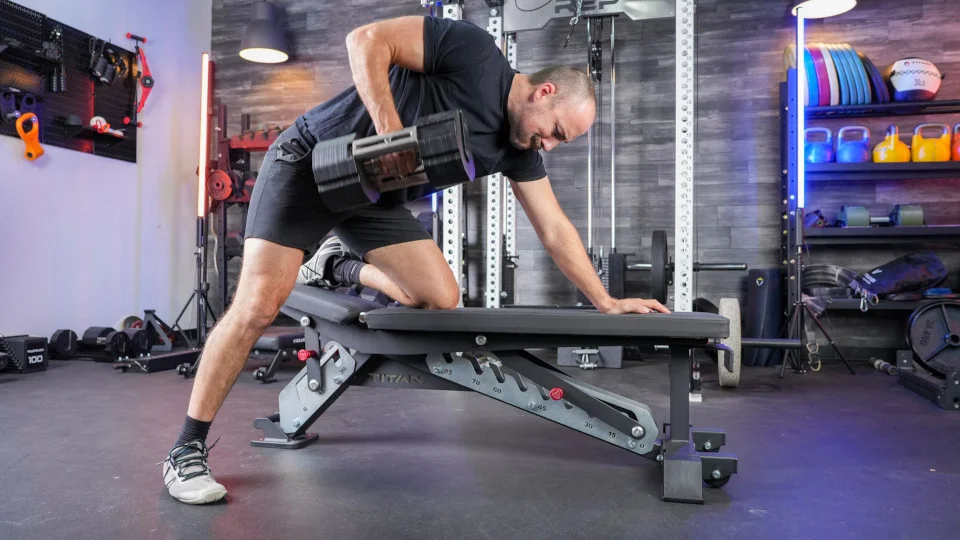
Best Weight Benches
July 6, 2026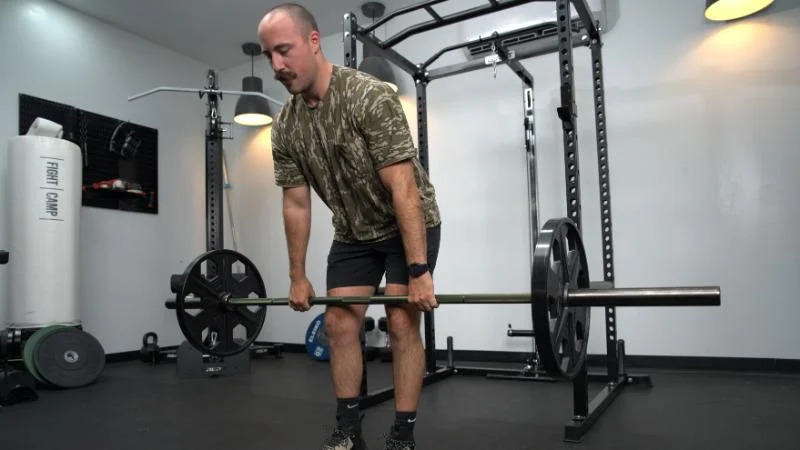
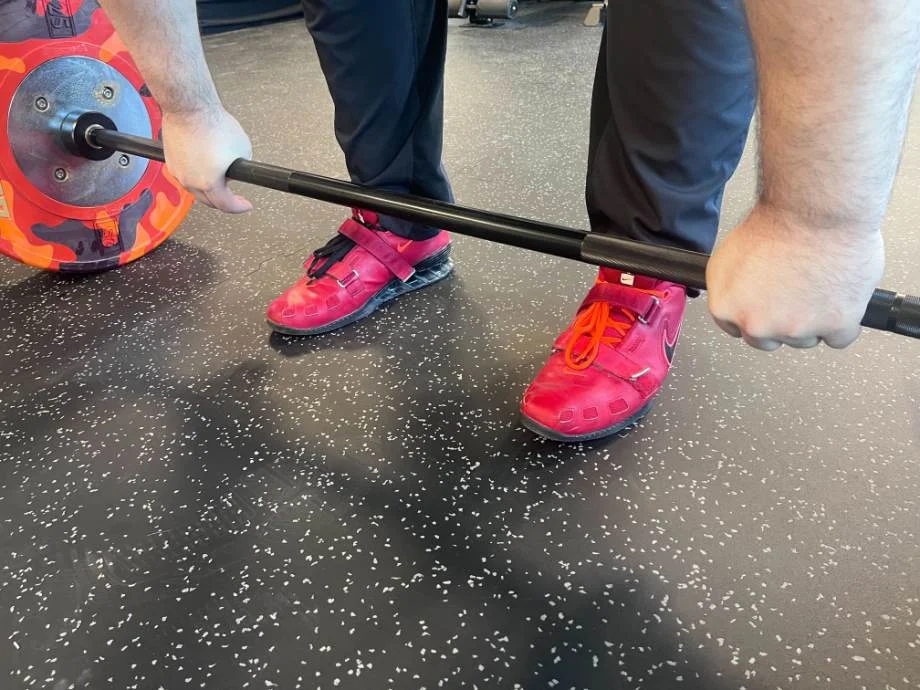
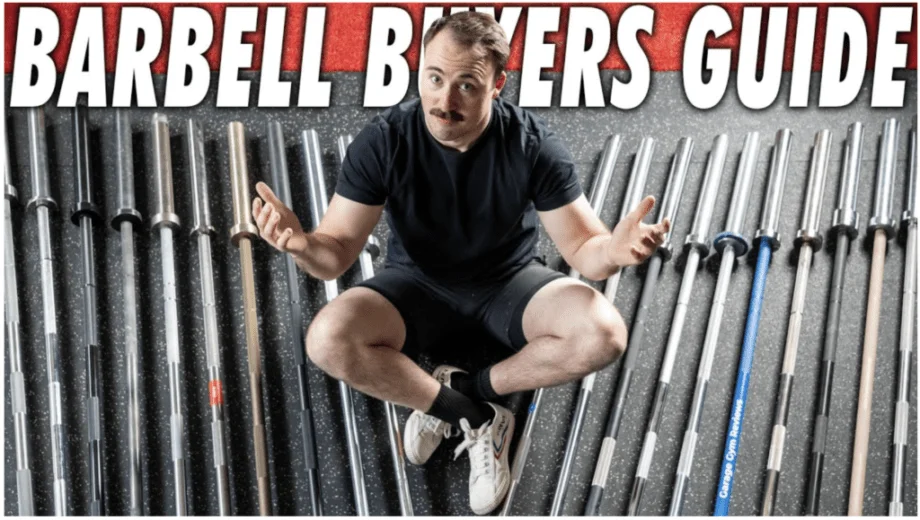
Best Barbells
May 26, 2026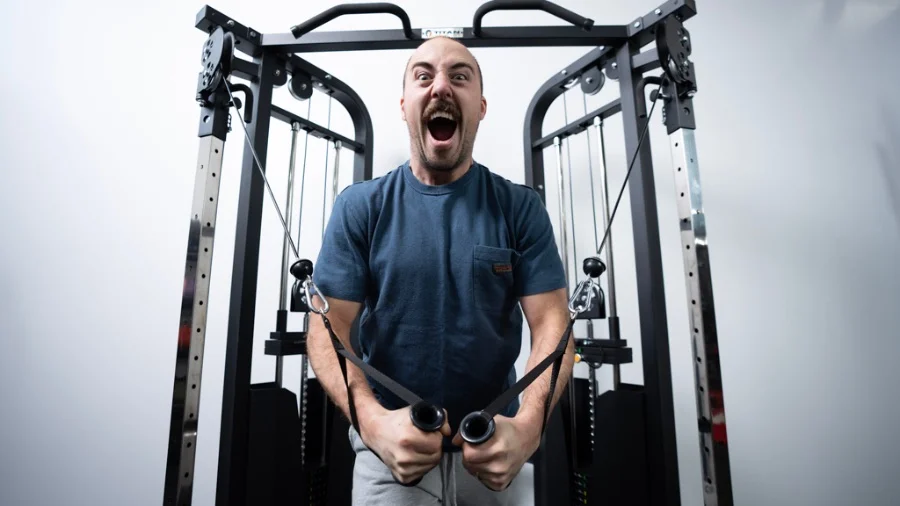
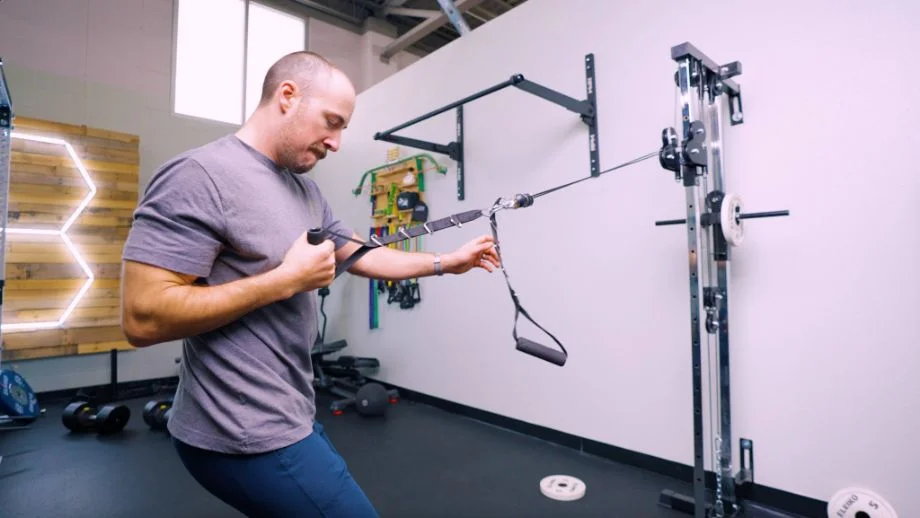
Best Functional Trainers
May 28, 2026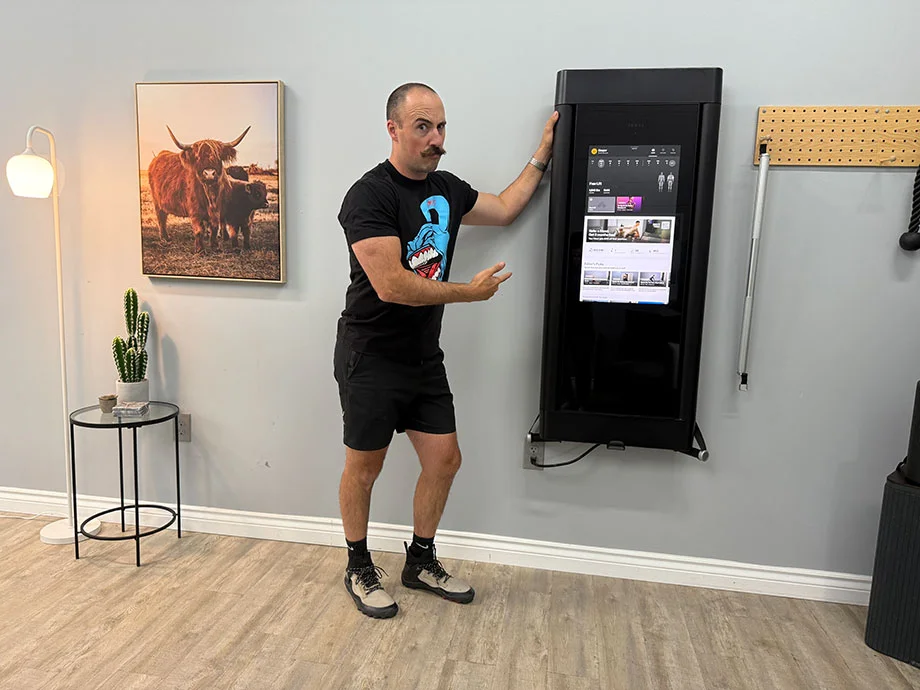
Best Smart Home Gyms
June 19, 2026Top-Rated Conditioning Equipment for Every Athlete
We tested today’s top machines and tools to find the most effective options for improving endurance, speed, and power.
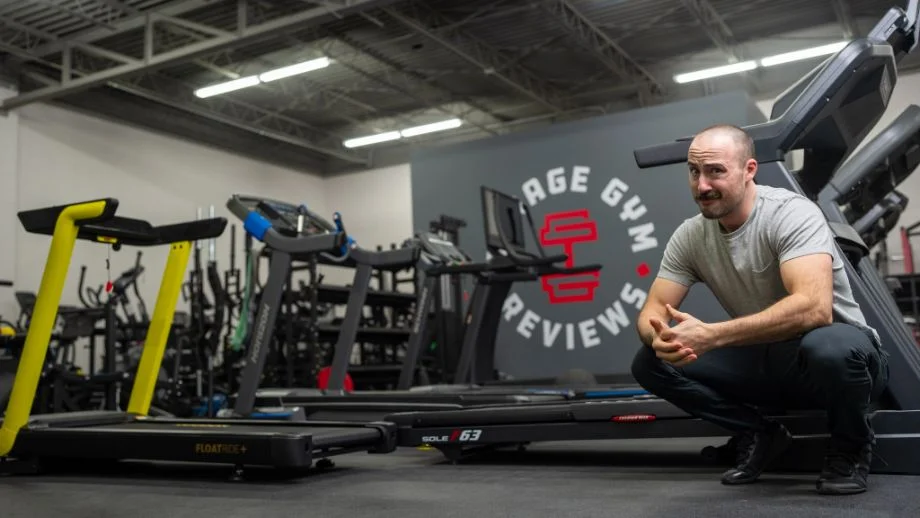
Best Treadmills
July 8, 2026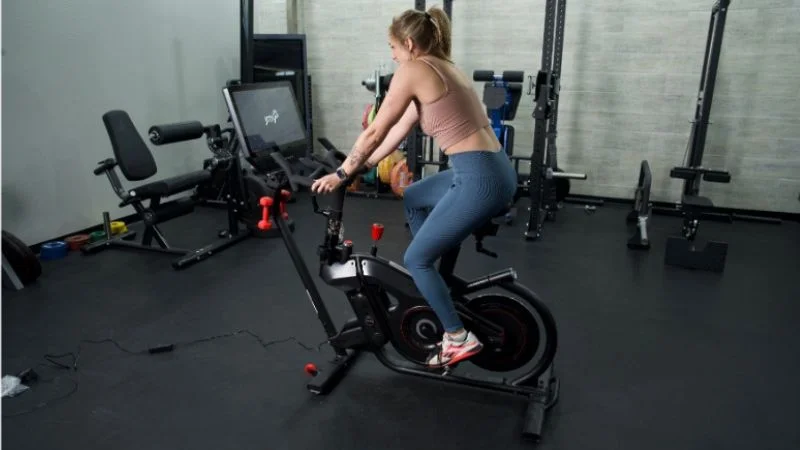
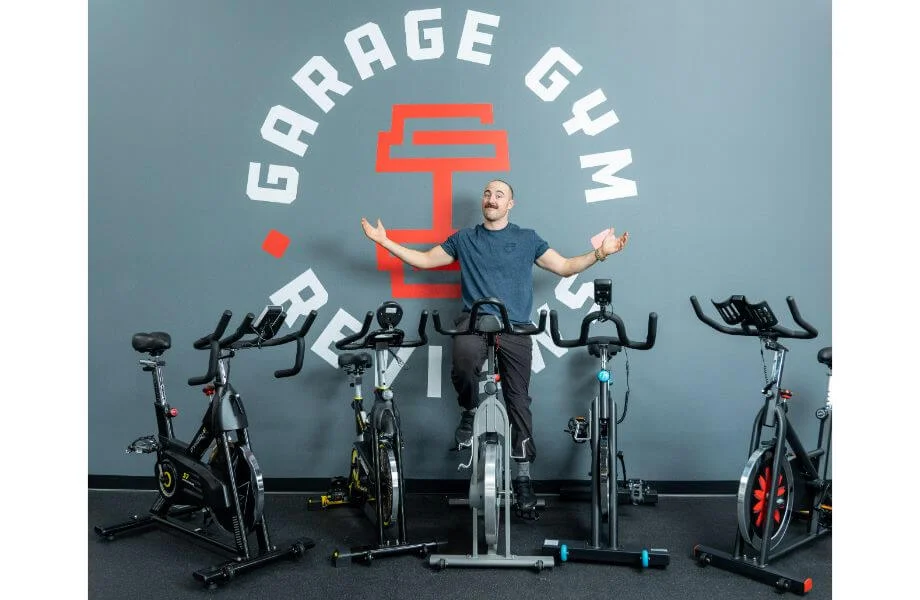
Best Exercise Bikes
July 8, 2026
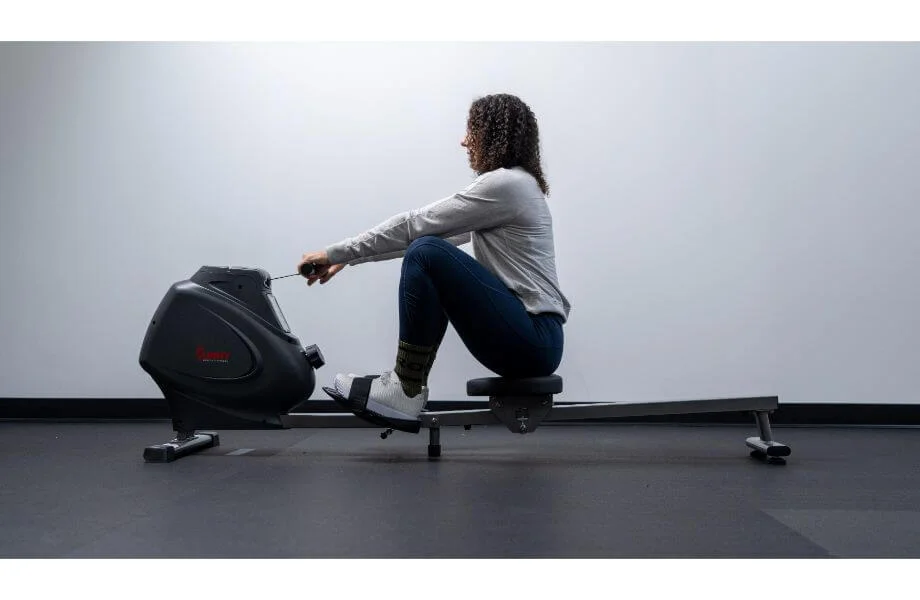
Best Rowing Machines
July 8, 2026
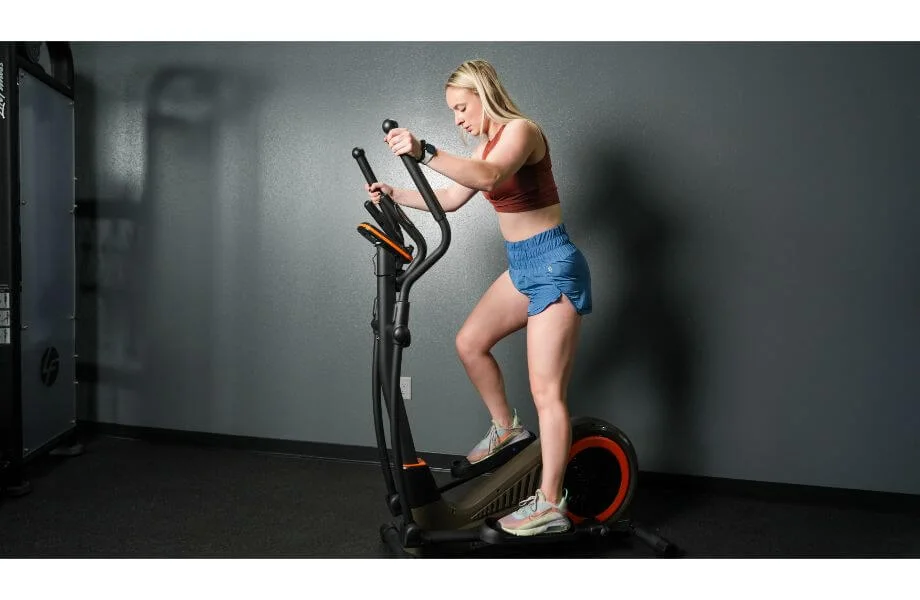
Best Ellipticals
July 10, 2026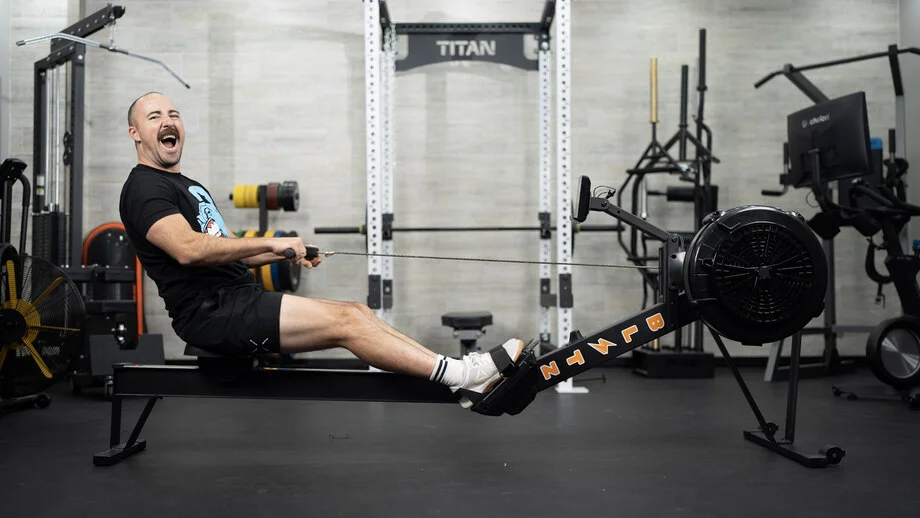
Best Cardio Machines
June 2, 2026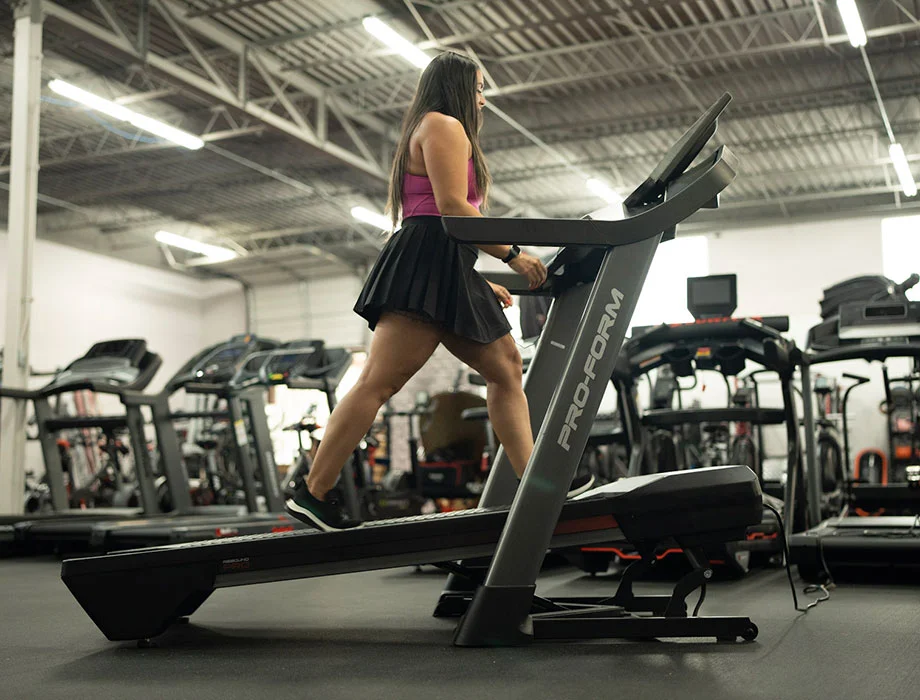
Best Incline Treadmills
July 8, 2026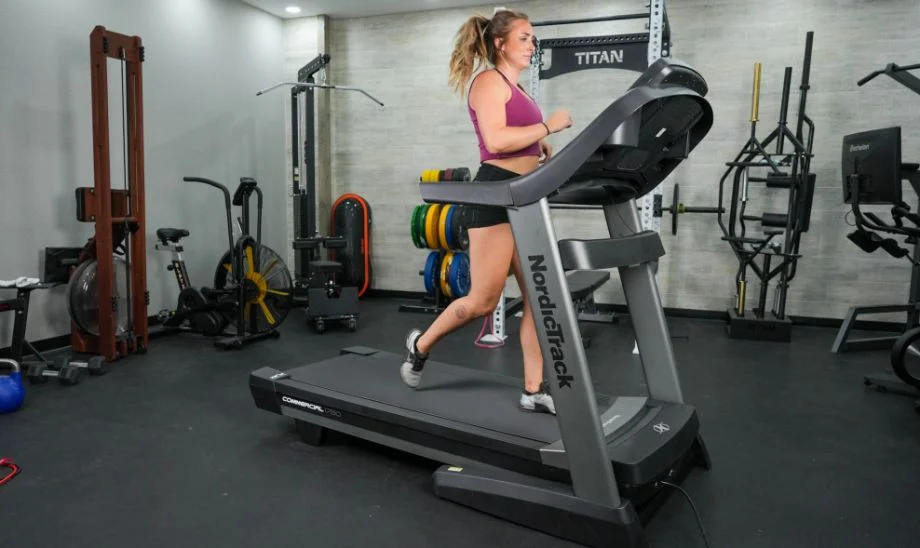
Best Cushioned Treadmills
June 19, 2026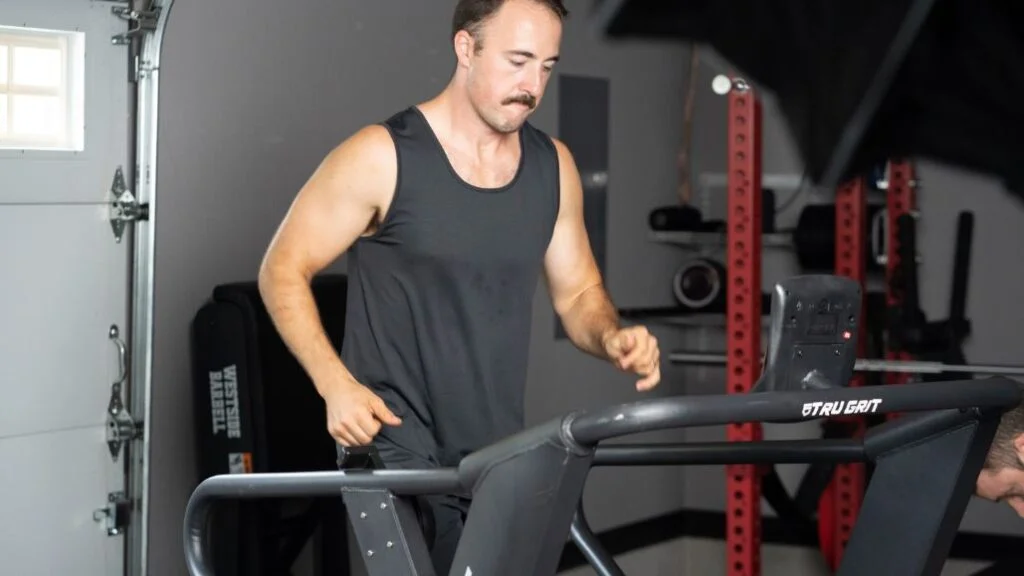
Best Manual Treadmills
July 8, 2026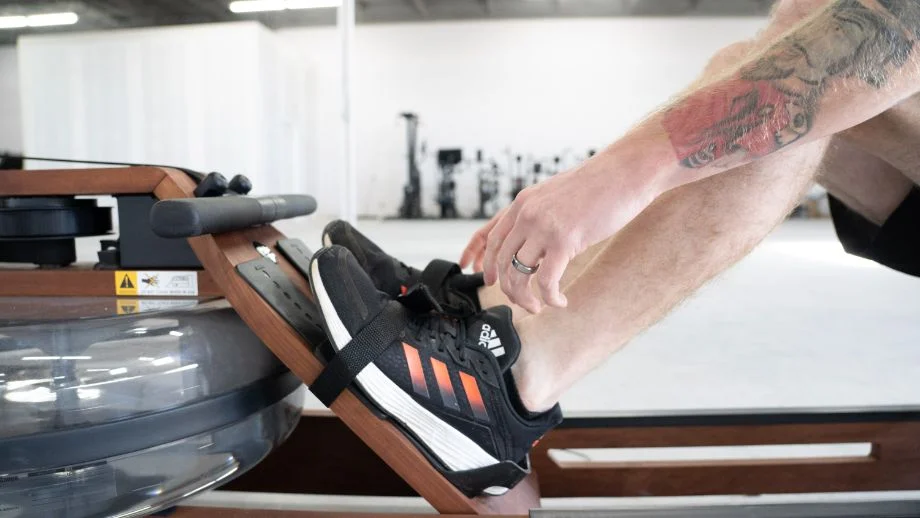
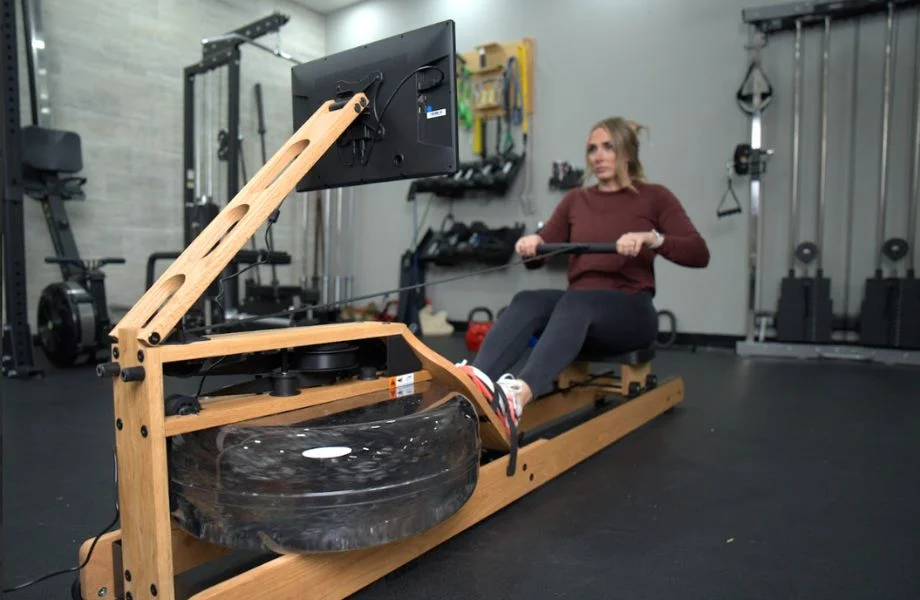
Best Water Rowing Machines
June 17, 2026
Best Air Bikes
June 2, 2026Recover Better
The top recovery tools to help you bounce back faster.
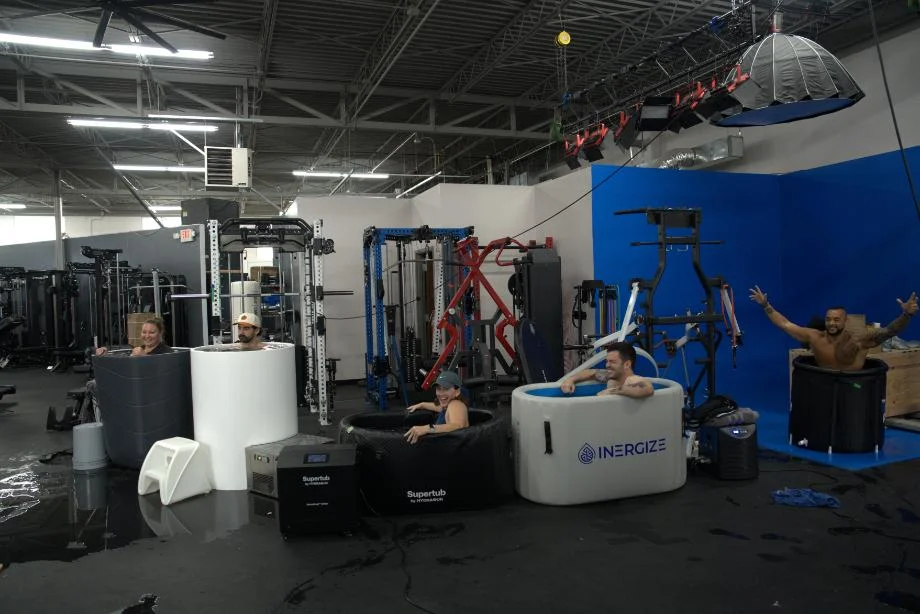
Best Cold Plunge Tubs
July 6, 2026
Best Home Saunas
July 8, 2026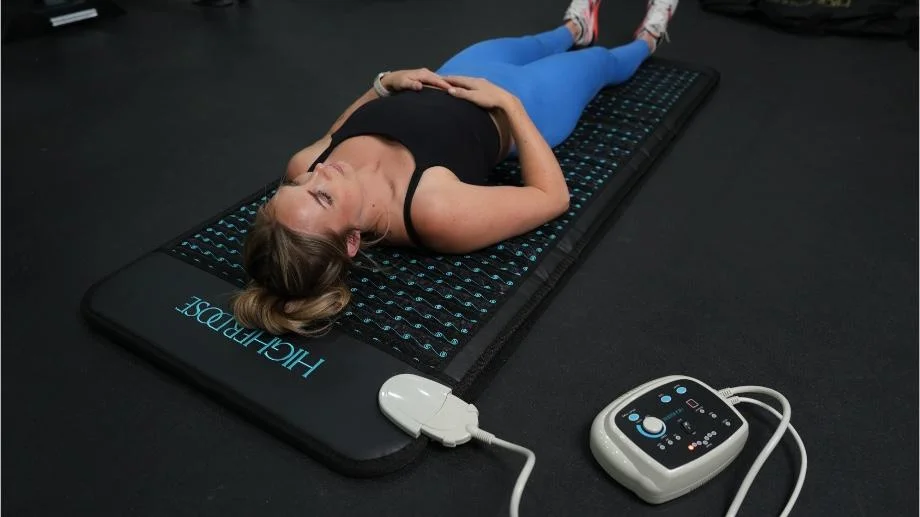
Best Grounding Mats
February 18, 2026
Best Outdoor Saunas
June 2, 2026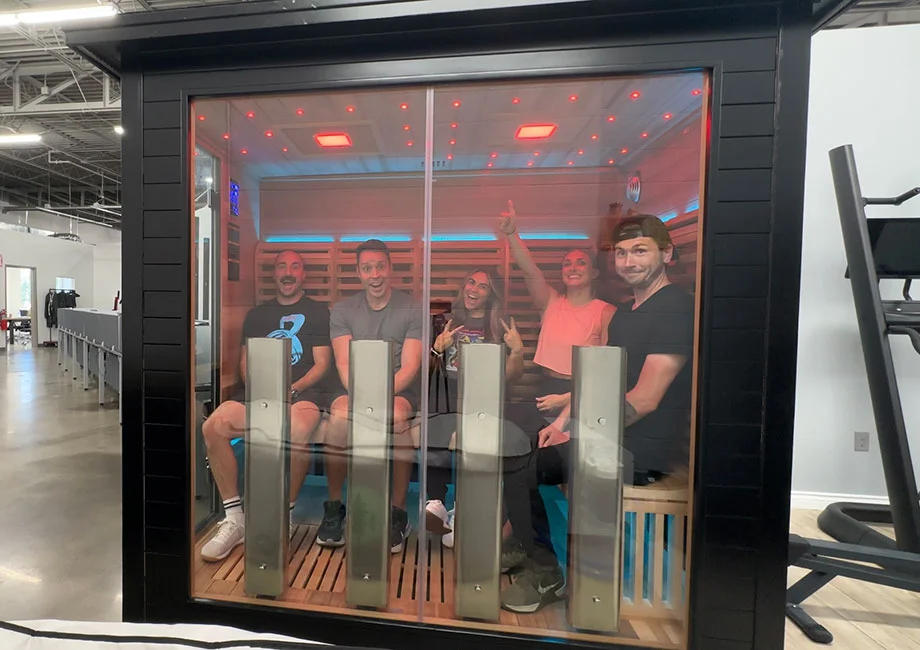
Best Infrared Saunas
June 2, 2026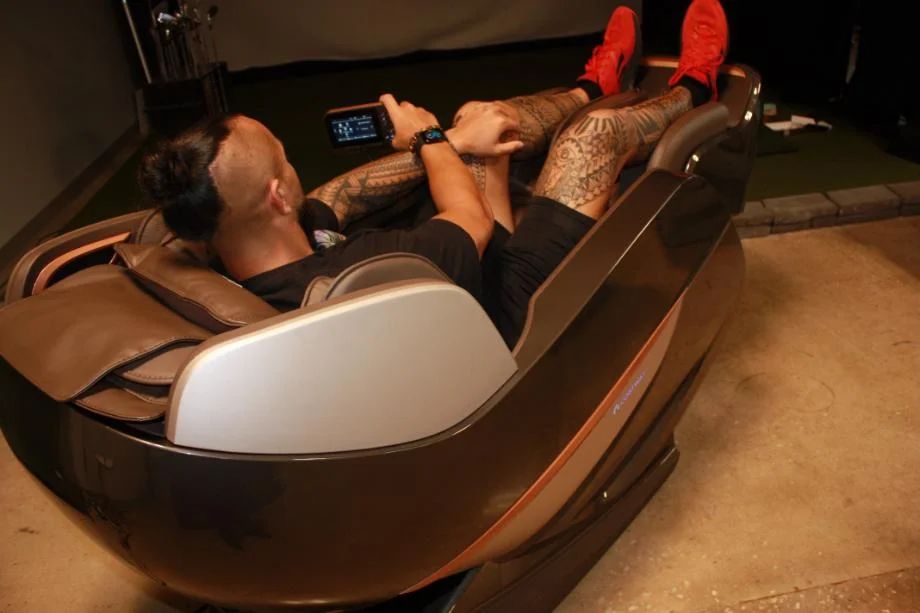
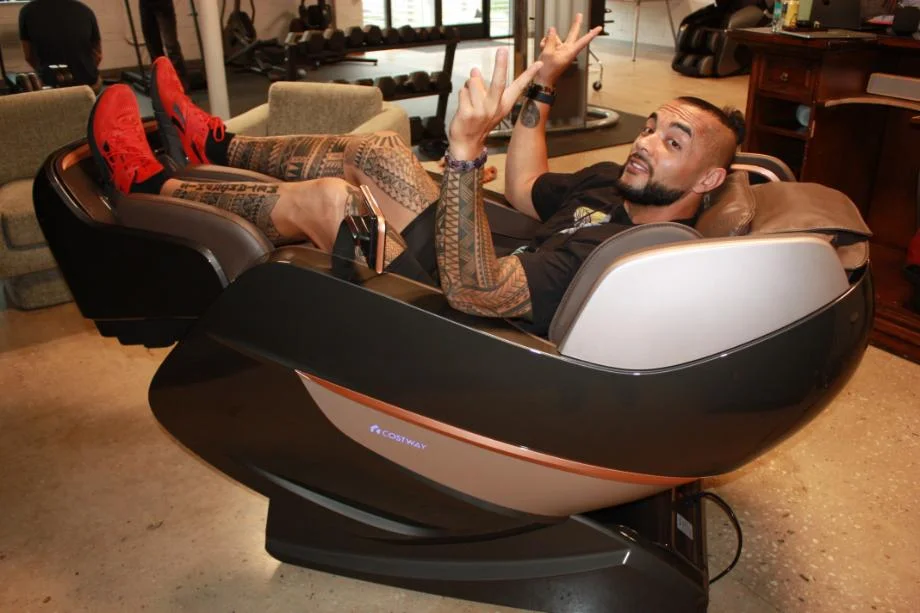
Best Massage Chairs
June 4, 2026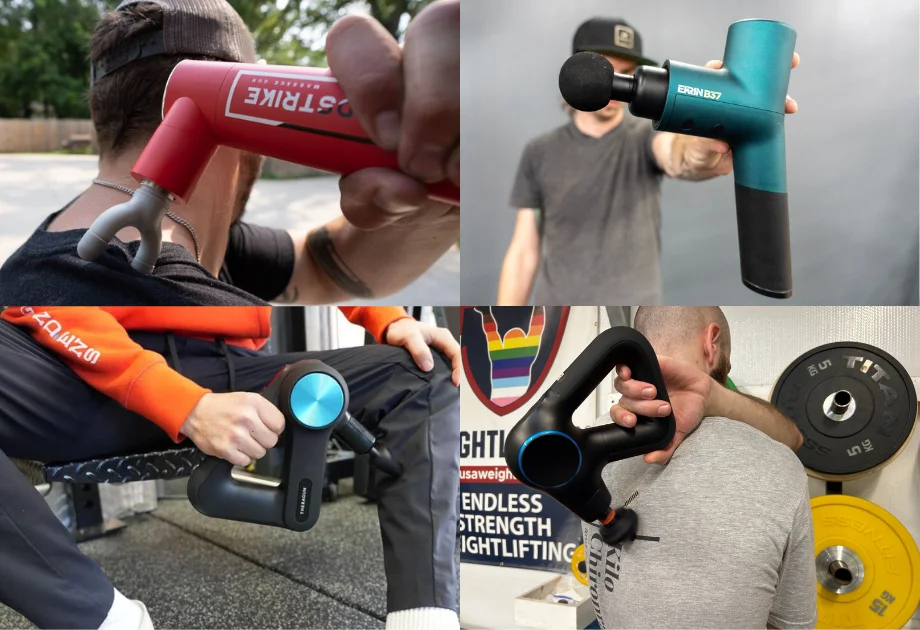
Best Massage Guns
June 2, 2026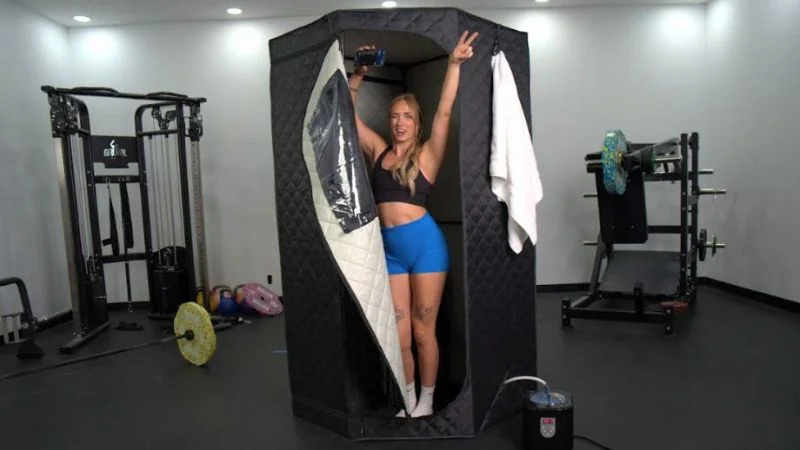
Best Portable Saunas
March 10, 2026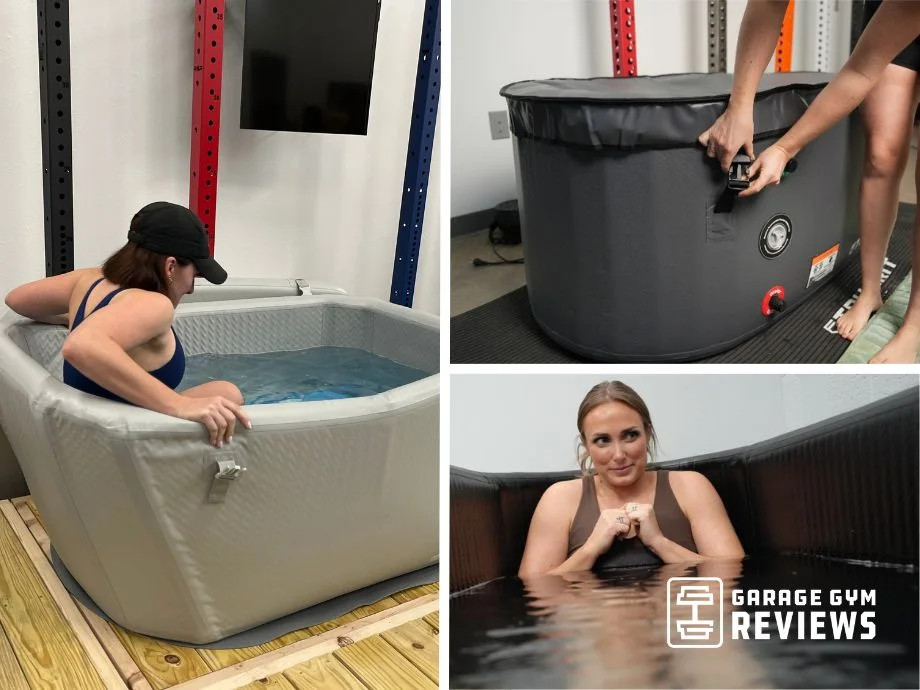
Best Inflatable Cold Plunge
May 28, 2026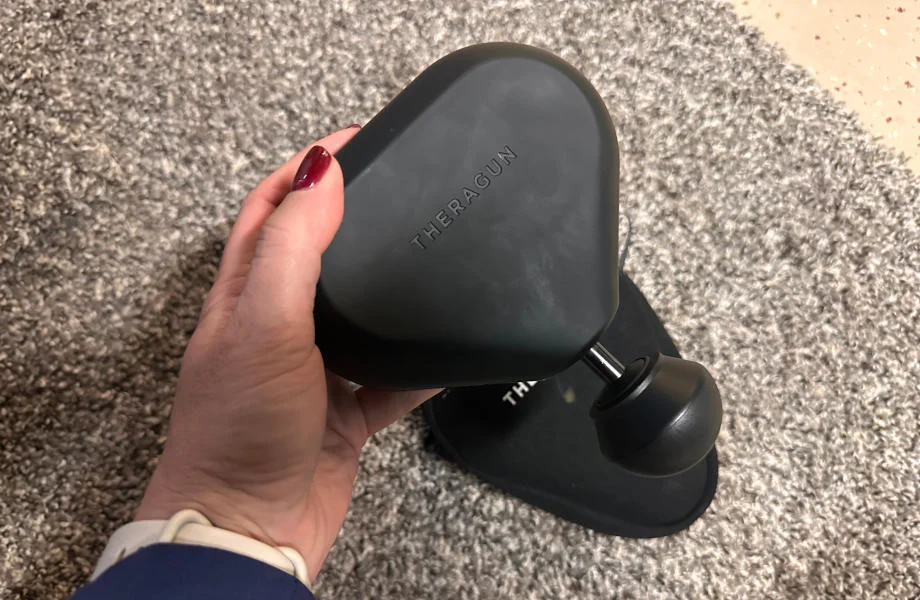
Best Mini Massage Guns
June 2, 2026How We Test
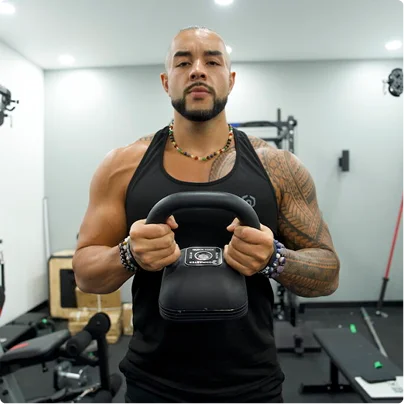
Every product we feature undergoes an extensive, multi-point testing process. From gym gear to recovery tools and supplements, our goal is to give you honest, data-backed results before you invest in new equipment.
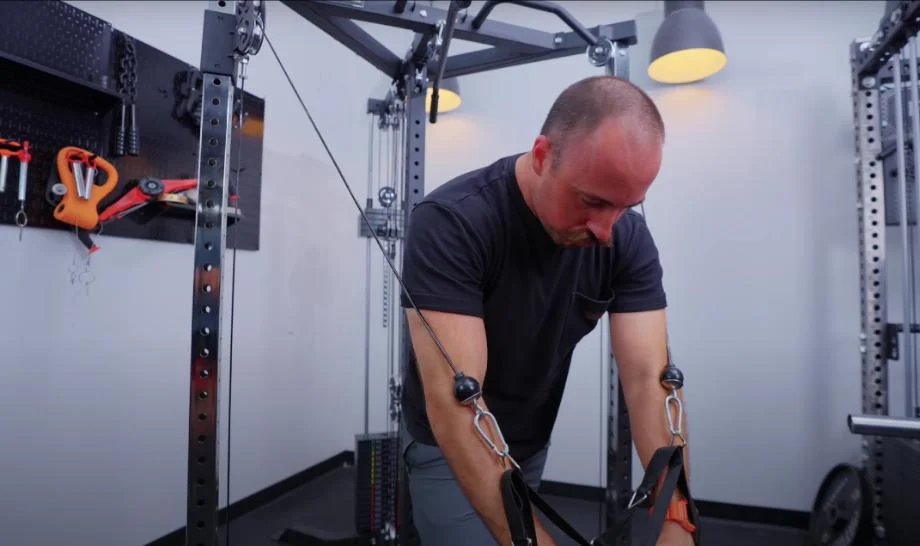
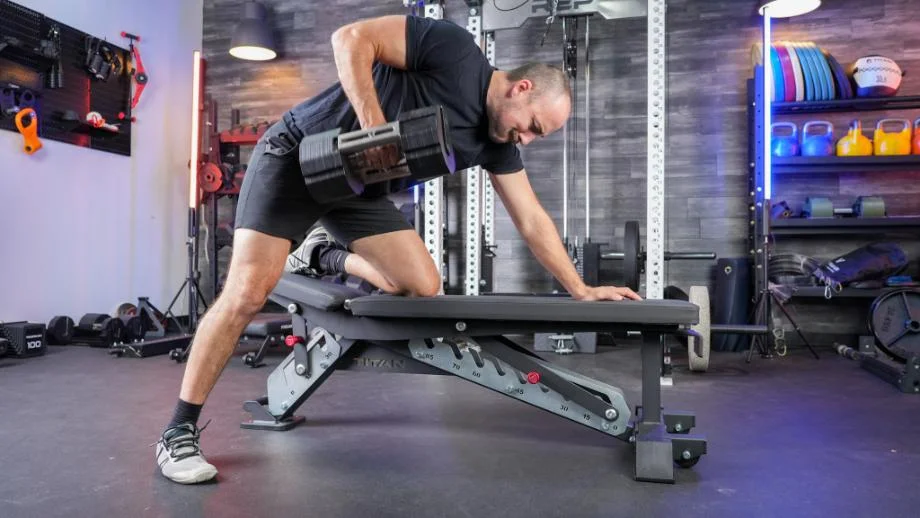
Real-World Testing
Our team of testers comes from a range of fitness backgrounds, allowing us to evaluate how each product performs in real-world use. Every item is used, adjusted, and pushed to its limits through everyday training.
Turning Results Into Ratings
We assess key factors like construction, durability, performance, and value, combining these results into a comprehensive overall score that reflects how each product truly performs.
Expert Approved
We work with certified trainers, physical therapists, and registered dietitians to confirm our results.
Explore Our Methods
GGR Fitness Equipment Testing Methodology
GGR Supplement Testing Methodology

How We Test Ellipticals
How We Test Cold Plunges
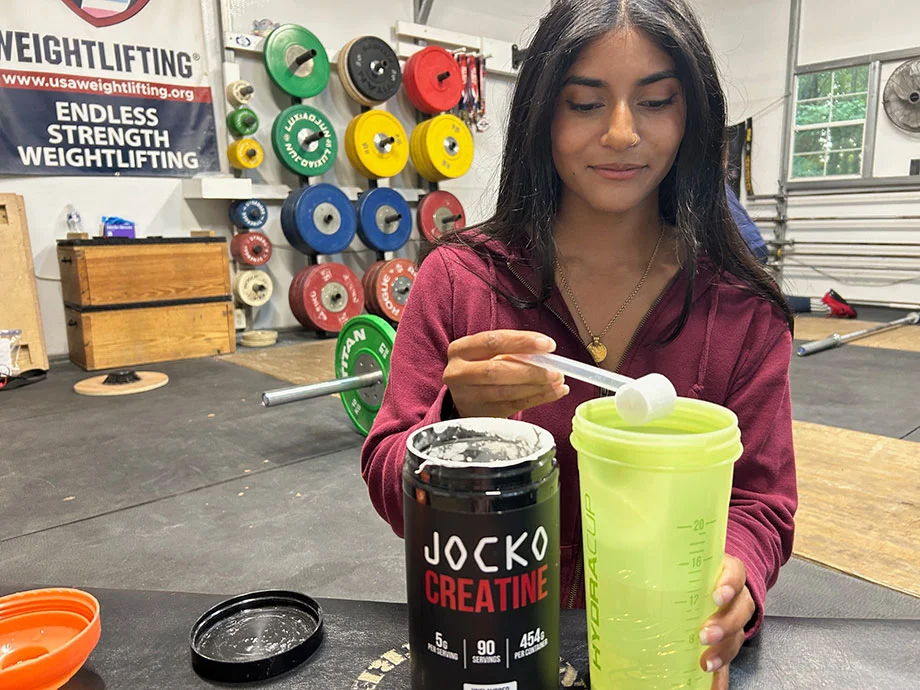
How We Test Creatine
How We Test Saunas
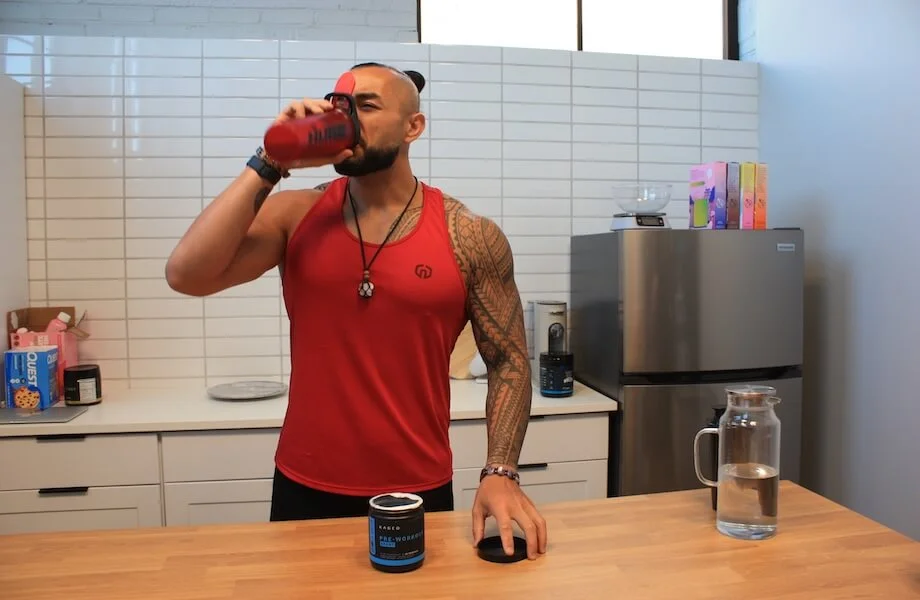
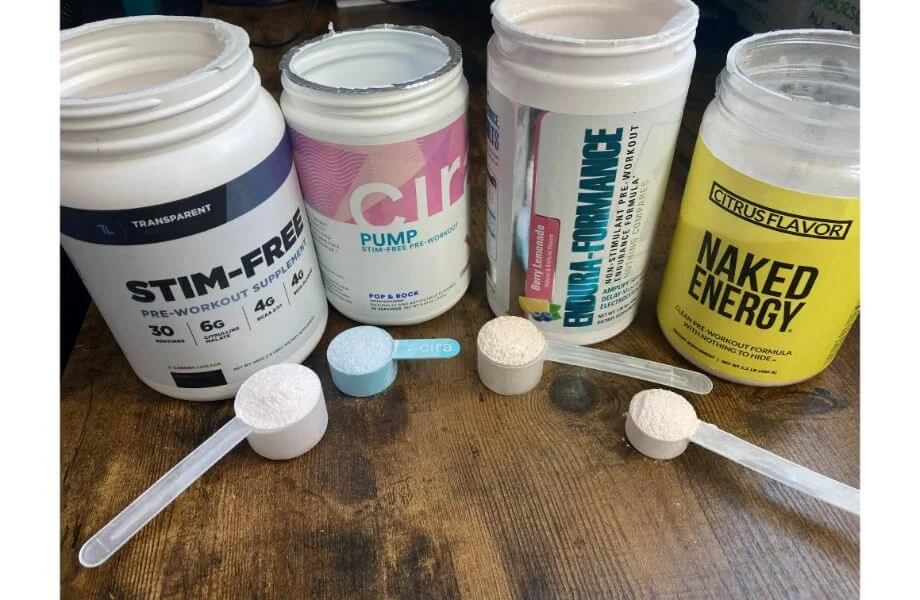
How We Test Pre-Workout
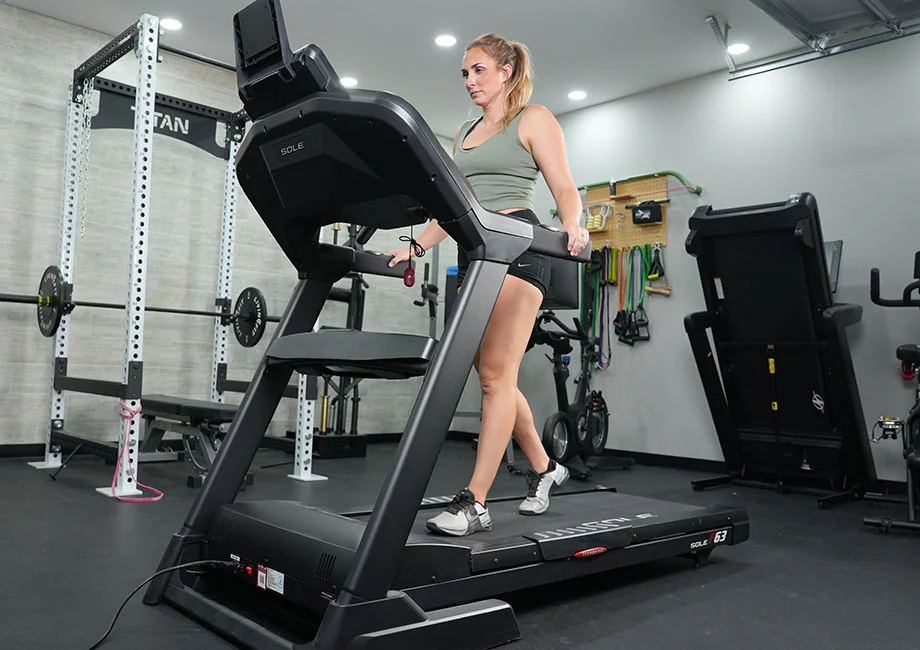
How We Test Treadmills
How We Test Massage Chairs
How We Test Exercise Bikes
How We Test Rowing Machines
How We Test Kettlebells
How We Test Functional Trainers

How We Test Smith Machines

How We Test Weight Benches
How We Test Dumbbells
How We Test Barbells
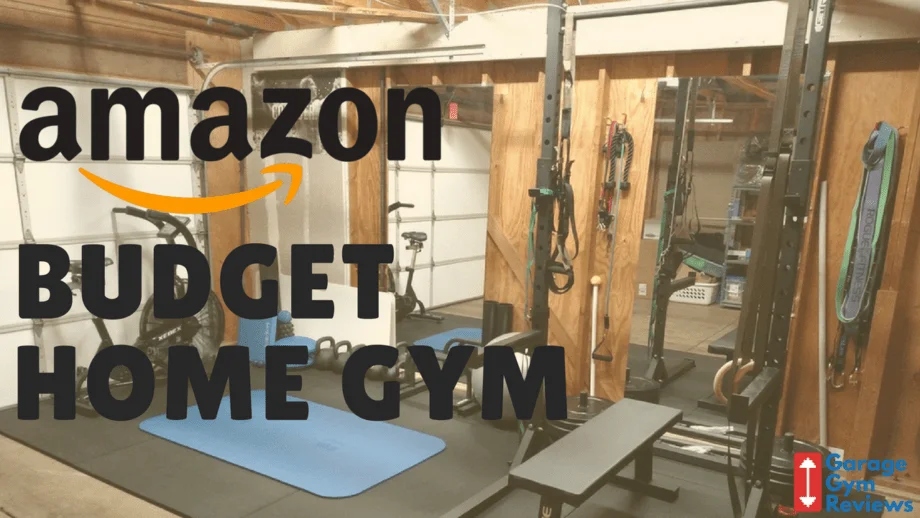
Build Your Gym Without Breaking the Bank
We know gym equipment can be pricey. That’s why we share trusted recommendations for every budget, plus exclusive deals and the latest sales from top brands.
Expert Picks for Every Budget
No matter your price range, we’ll help you find what’s worth it.


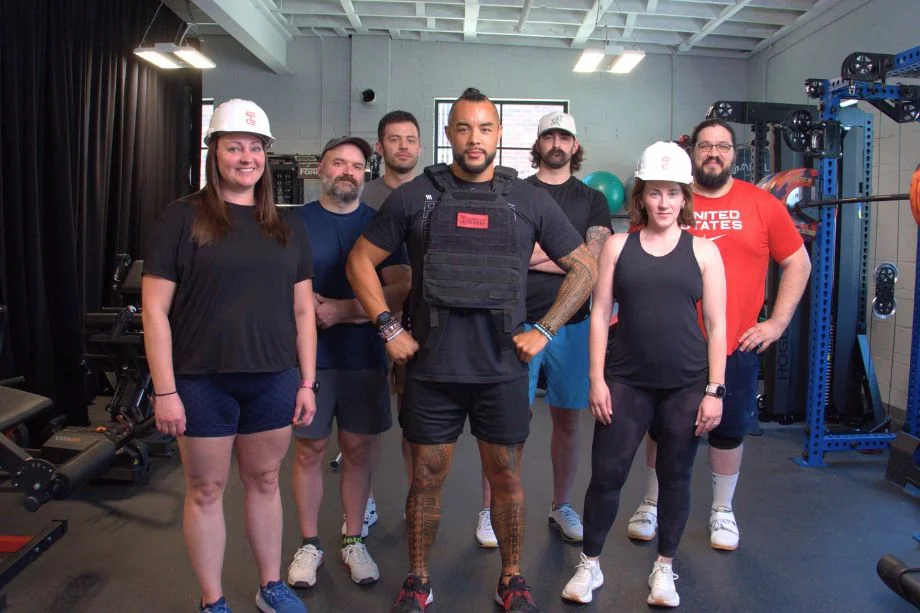
Meet the Garage Gym Reviews Team
Real experts. Real insight. Our network of health and fitness professionals supports the Garage Gym Reviews team with research, scientific data, and expert guidance to ensure every review is accurate and trustworthy.

Founder and Home Gym Expert


Senior Editor


Coop’s Top Picks
Thanks for Powering Our Product Testing
We have affiliate relationships with many brands and third-party sites—including Amazon—for most of the products featured on our pages. These links don’t cost you anything but let retailers know you found them through us. In return, we may earn a small commission if you make a purchase.
Sometimes, companies send us products to test and review at no cost, but we also buy items ourselves. Either way, our reviews stay completely independent—we never promise coverage or positive feedback in exchange for free products or commissions.
Our reviews remain fully independent. We never offer coverage or favorable feedback in exchange for free products or commissions—we’re committed to honest, expert opinions you can trust.
Start Building with Our Top Picks
We’ve rounded up the best options for every space, budget, and goal. Find the gear that fits your home gym.