


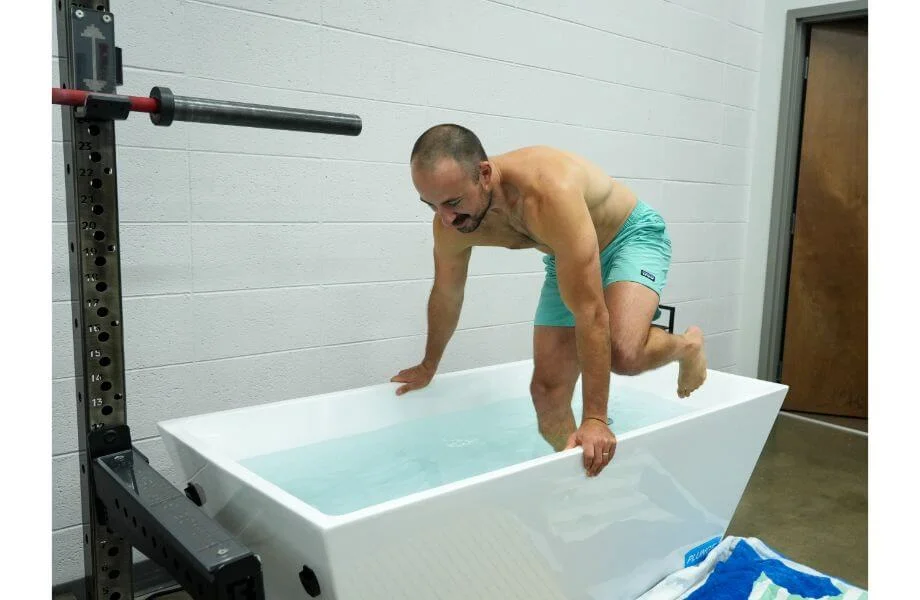
If you’ve ever looked into the best muscle recovery tools, you’ve probably come across cold plunge tubs and ice baths. Very few people love sitting in freezing water but endure it for the potential health benefits of muscle recovery, reducing inflammation, and more.
There’s a lot to gain from cold water therapy, but it can be expensive, with simple ice baths costing over $1,000. The best cold plunge tubs with filtration systems and ozone generators to sanitize the water can cost several thousand dollars or even more. You may start looking for ways to make your own DIY home cold plunge.
Fortunately, you’re here, where I’m about to explain some great DIY cold plunge ideas that can save you money, costing a fraction of similar builds on the market. I’ve used a variety of cold plunges over my 25 years of competing in Olympic-style weightlifting, from high-end tubs at the Olympic Training Center, to horse troughs in my backyard. I’ll go over a couple of major DIY concepts step-by-step, plus alternatives if you’re still unsure how to set up your cold plunge.
Plus, I spoke with Dr. Raj Dasgupta, MD, FACP, FCCP, FAASM, Dr. Michelle Koolaee, DO, FACR, and Amanda Capritto, CPT, CES, CF-L1, CSNC, CNC about how to cold plunge for the best results (and avoid associated risks).
What Is a DIY Cold Plunge Tub?
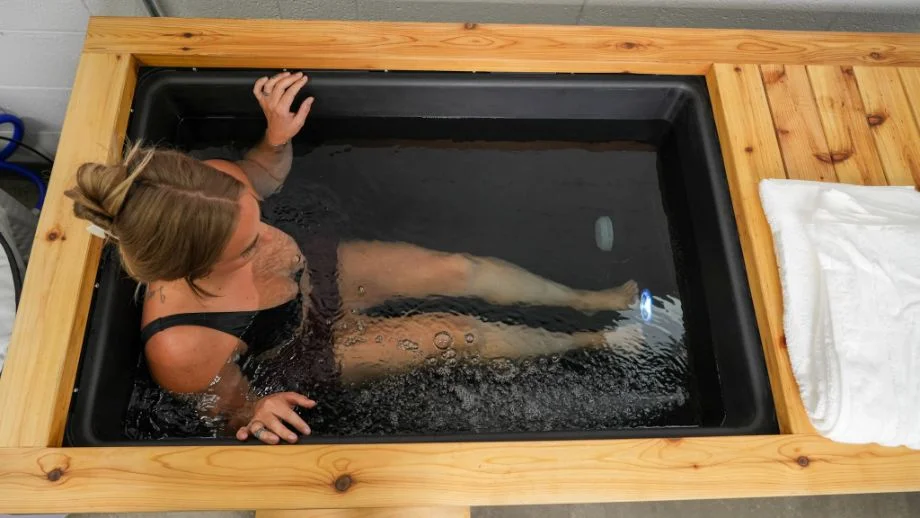
A cold plunge tub, also known as an ice bath, is used for recovery for athletes and gym users—like the best home saunas. On average, a cold plunge tub maintains a water temperature between 45 and 55 degrees Fahrenheit, although some can go colder.
As for what a DIY cold plunge is, well, it’s just one that you make at home yourself. Generally, this is done with relatively inexpensive materials, loads of ice, and your water source at home (like your garden hose or bathtub).
Although the research on cold water immersion therapy is still limited, potential benefits can include alleviating perceived muscle soreness, reducing inflammation, or supporting the immune system. Others use cold plunges for mental health benefits, practicing mindfulness, meditation, or breathing exercises such as the Wim Hof method.
How to Build a DIY Cold Plunge Tub
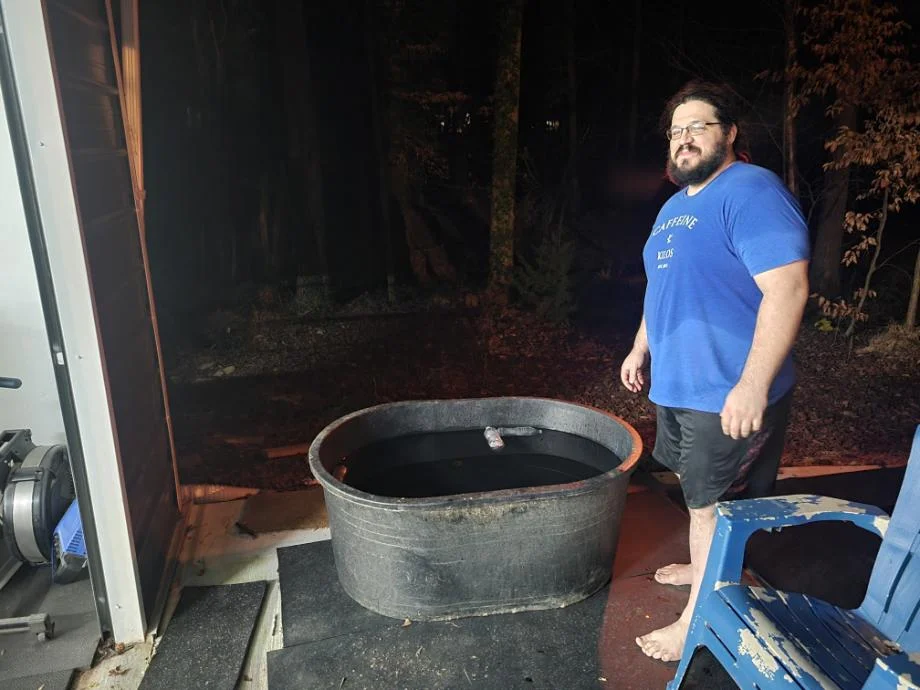
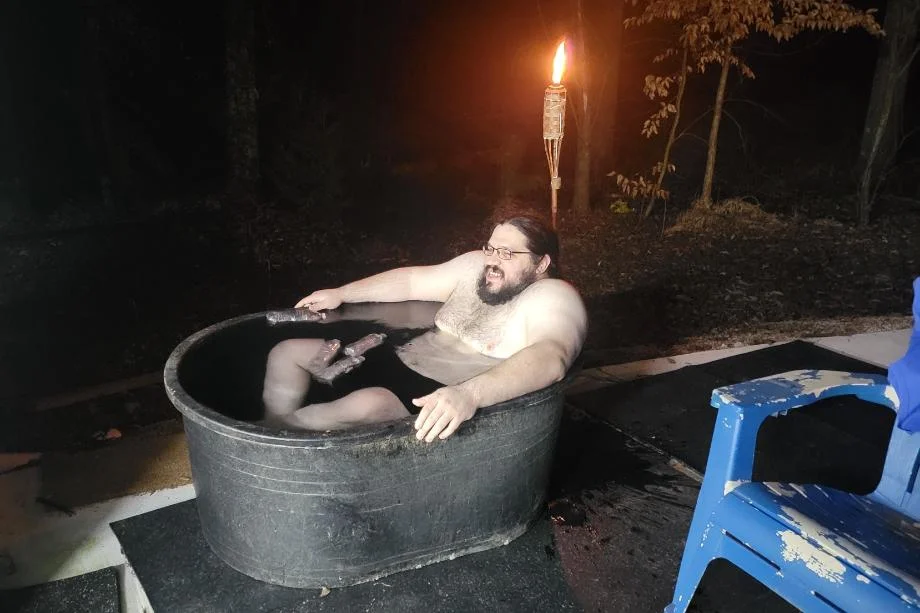
DIY Cold Plunge 1: Stock Tank
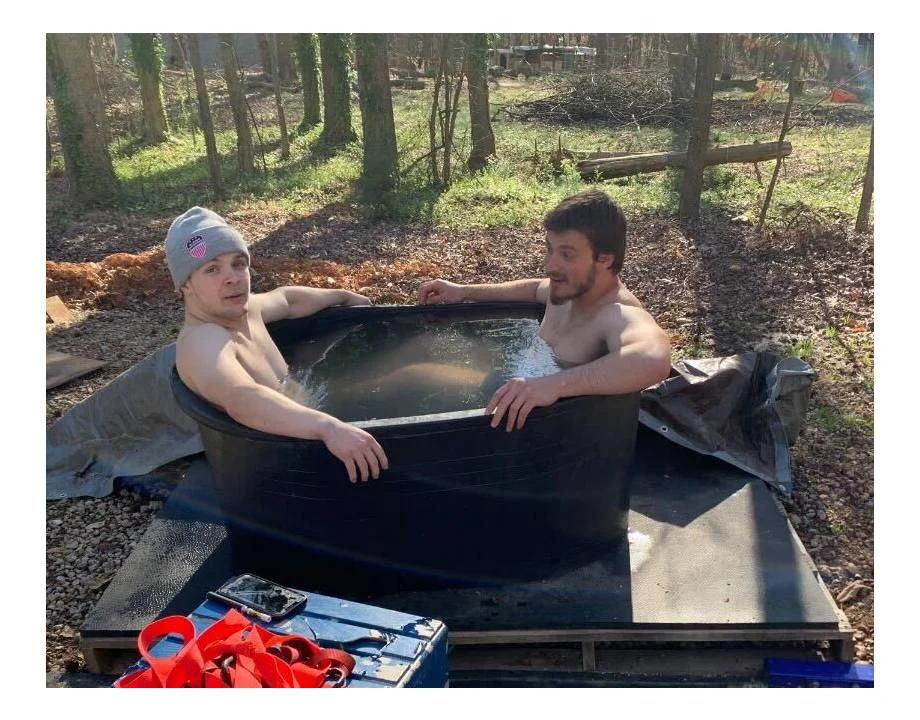
A stock tank is one of the simplest and least expensive ways to receive the benefits of an ice bath at your own home. The initial purchase is simply a stock tank or water trough large enough to fit you—typically a 100-gallon capacity or larger—which costs around $100. Plus, you can find stock tanks at local stores; the Tuff Stuff Stock Tank we typically recommend for DIY projects is at Tractor Supply. (Rubbermaid is a popular brand, too.)
Made from heavy-duty plastic, a stock tank can hold up to weather extremes pretty well. The main drawback is that a trough or tank will also require the most maintenance, as most of the time, you’ll have to replace the water after each use, and you’ll need ice bags for each session to drop the water temperature. Without any sort of temperature control or filtration, the water you add will get stagnant fast if left unattended.
RELATED: Desert Cold Plunge Tub Review
I’ll go over an easy way to help extend your water’s freshness for a couple of days, but just know this inexpensive way to ice bath will require some work on your end for each session.
What You Need
- Stock tank: Aim for a tank with a 100-gallon capacity, maybe more for a larger athlete.
- Bags of ice: The exact amount will depend on your desired water temperature.
- Water: You can simply fill up the tank with tap water from a hose.
- Waterproof tarp: If you’re wanting to save the stock tank water for a day or two, a tarp will keep debris from falling in while it’s not in use.
- Brominating concentrate: A common sanitizer for hot tubs that will help keep the water fresher for longer. Using this, you should also get testing strips to measure the pH of the water.
How To Build It
The setup for a stock tank is fairly simple, as the only required necessities are a tank, ice, and water. The tarp and bromine are there if you want to cold plunge daily and don’t want to empty and refill your tank every day—although the lack of insulation will mean you’ll still need ice for each session.
- Set your stock tank on level ground, and fill the tank with water.
- Add your ice. Depending on how cold you want the water to be, 10 to 20 pounds of ice should be enough. Step in the tank; you’re ready to cold plunge!
- Once you’re done using the tank, dump the water, either by tipping the tank over, or unscrewing the stock tank’s valve.
Expert tips: Don’t want to spend money on ice each time? You can freeze bottles of water and dump them in the tank to save money.
If you’re looking to make the water last for a bit, cover the tank with the tarp after use. You can add brominating concentrate (which can be purchased on Amazon) to help sanitize the water. You won’t need much—maybe a half-teaspoon per 100 gallons. Also, have pH testing strips to make sure the pH is at a safe level.
DIY Cold Plunge 2: Chest Freezer
Don’t want to buy bags of ice for every cold plunge session? A chest freezer might be the better DIY option for you. Although chest freezers are a bit more expensive than a stock tank—you can find them for $500—the chest freezer will provide insulation and a temperature controller, allowing you to regulate the temperature in between uses. Plus, it also comes with a drain plug.
RELATED: Plunge All-In Review
This will require a little bit of elbow grease at the start, though, since you’ll need to seal the seams of the chest. Plus, this won’t provide a long-term sanitation process for the water, either. Still, the maintenance is fairly straightforward since using the tub won’t require a trip to buy pounds of ice beforehand.
What You Need
- Chest freezer: Typically measured in cubic feet, your freezer can be any size, so long as it can fit you. I’d recommend a minimum of 15 cubic feet. Smaller athletes might be able to use something with 7 or 8 cubic feet, which runs about $200.
- Caulking gun and marine sealant: A chest freezer doesn’t come completely waterproof, so you’ll have to seal the edges to prevent any leaking once your cold plunge is in use. After caulking the seams, I’d recommend covering that with another sealant (like Flex Seal), just to ensure there are no leaks.
- Temperature controller: Most chest freezers will try to freeze the water without a controller. Fortunately, freezer temperature controllers can help regulate the temperature and are pretty inexpensive (as low as $35 on Amazon).
- Water: Again, you’ll need a convenient source of water, probably from a hose.
RELATED: Plunge Air Review
How To Build It
There’s a little more preparation needed to use a chest freezer for cold plunging.
- Place your chest freezer on level ground. Make sure it’s near an outlet.
- Once you have a chest freezer, you’ll need to caulk the seams. Use a marine sealant that’ll hold up to continued water exposure for the best results, and seal all the seams and edges of the freezer. You’ll also need to caulk around the drain plug without actually sealing the drain plug shut.
- Let the sealant dry, then use Flex Seal or a similar sealant to cover the interior of the freezer, and along the edges you’ve just caulked over. This will doubly ensure that your chest freezer is now waterproof. Again, don’t cover up the drain plug.
- Take your temperature controller and plug into an outlet, then plug your chest freezer into the temperature controller. Set the thermometer attachment of the temperature control into the tub. Set the temperature and your tub will now maintain that temperature.
- Fill your tub with water, and turn it on. You’re ready to cold plunge.
Other Cold Plunge Alternatives
These are two basic ways to make a cold plunge. The main thing is to have a tub, waterproof it, and then hop in for some recovery. Here are some alternatives and ways to personalize your cold plunge build.

- Use a bathtub: A bathtub, if it’s large enough, can act as a good ice bath if you want to try out cold plunges before dropping any money on a DIY project. Just add cold water and ice.
- Take a cold shower: If you’re brand new to cold water therapy, a cold shower can be a good way to acclimate to colder water temperatures. Household showers don’t get quite as cold, around 55 degrees, so you can get used to the chilly water before full cold water immersion.
- Add a water chiller and filter: A filter and water chiller can help maintain the water temperature and quality of the water in between uses. With an insulated container, a 1/4- or 1/2-HP chiller will be adequate. If you’re using a container that isn’t insulated (like a stock tank), you may need a more powerful chiller, like full horsepower. You’ll also have to drill holes to run tubing between the chiller, pump, and cold plunge tub.
- Use an insulated cooler: An oversized cooler can be a great tub to build your cold plunge. It will have insulation built in, plus a drainage plug as well. These coolers can get expensive, though. A 100-gallon insulated cooler can cost over $1,000 easily. Shop around for deals before settling on your purchase.
RELATED: Best Inflatable Cold Plunge Tubs
How Big Should I Make a DIY Cold Plunge?
According to Amanda Capritto, certified personal trainer and GGR senior staff writer, a 100-gallon capacity is a good benchmark. “You may want to increase to 120 or even 150 gallons for larger athletes, or if you plan on having two people in the tub at one time,” she says.
Consider the shape of the tub, too. Amanda points out that a shallower, longer tub would be more comfortable for people with longer legs or those who like to recline. On the other hand, a deeper but narrower tub could work well for those who prefer to sit upright.
Benefits of a DIY Cold Plunge
Why might you want a DIY cold plunge instead of buying a ready-made setup? Here are the standout benefits.
Cheaper
Arguably the most significant benefit is cost. Even bare-bones cold plunge tubs start at several hundred dollars, with high-end options reaching several thousand. Not everyone has that kind of money, and homemade plunge tubs offer a more financially accessible way to enjoy the benefits of cold plunges.
No Electricity Required
You can place your DIY cold plunge wherever you want, for the most part. (Obviously choose a spot where it doesn’t matter if water splashes out or spills). But you don’t have to worry about outlets or any sort of electrical hookup, like you do with tubs that chill water sans ice.
Takes Up Less Space
In general, DIY cold plunge tubs are smaller, though this isn’t always the case. There are some narrow, upright cold plunges, like the Ice Barrel, that take up very little floor space.
Drawbacks of a DIY Cold Plunge
Like all things, there are some cons to consider with those pros. Keep these things in mind as you plan for a cold plunge kit.

Temperature Management
With a DIY cold plunge, you’ll have to manage the water temperature yourself. By nature, ice baths are temporary, and when the ice melts, your water will eventually warm up. Every time you want to plunge, you’ll need to add more ice.
Cleaning Requirements
One of the benefits of ready-made systems is that most have built-in filtering and sanitation systems that keep the water clean and keep cold plunge maintenance to a minimum. DIY plunges are susceptible to buildup, especially if you have hard (mineralized) water at your home. You’ll need to manage factors like mold, mildew, and bacteria, which may require frequent draining and cleaning of the tub.
Draining
Speaking of draining, you’ll need somewhere to do that. If you’re using your bathtub, no problem—just drain per usual. But outside, make sure there’s somewhere for all that water to go when you’re done with it.
RELATED: Tru Grit Cold Tub Review
DIY Cold Plunge: Final Thoughts
I’ve gone over multiple ways to cold plunge at home without having to splurge on the latest and greatest cold plunge tubs on the market. The main things to think about when making your own cold plunge are:
- Choosing the right tub for your needs
- Waterproofing the tub (if it isn’t already)
- Adding water
- Adding ice or a method to regulate the temperature
Once you have your method set up, you’re ready to enjoy cold water therapy. Dive in—but maybe not literally—to reap the potential benefits of cold plunging.
DIY Cold Plunge: FAQs
Can I make my own cold plunge?
Sure, you can make your own cold plunge. The simplest way to make a DIY cold plunge is to purchase a large stock tank and add water and bags of ice. Once filled, you’ll be ready for your cold plunge session.
Another way is to waterproof a chest freezer and fill it with water. With a temperature controller, the water can maintain a constant temperature.
What is the cheapest way to make a cold plunge?
If you have a bathtub in your house, that’ll be the cheapest way; just fill your bathtub with ice and water to create a literal ice bath. However, you can purchase a large stock tank for around $100 if you want an ice bath outside your bathroom. The bags of ice will be a recurring fee, but this will save you thousands of dollars upfront compared to cold plunge tubs on the market.
Is a cold shower as good as a cold plunge?
Cold showers don’t reach as low of temperatures as cold plunges; plus, they don’t fully immerse your body in cold water. Because of this, they may not have all of the benefits of a cold plunge. However, a cold shower can be a great starting point for someone new to cold water therapy. You can acclimate to colder water temperatures by starting in cold showers before progressing to full immersion.
How long should I stay in a cold plunge?
Opinions widely vary. Some say just a few minutes is optimal to remain safe and avoid potential hazards like cold shock or hypothermia. Other sources1 claim 10 minutes of cold exposure is the minimum time to gain any health benefits from a cold plunge. Dr. Raj Gasputa, GGR Chief Medical Officer, says, “People who want to try ice baths should start with 5 to 10 minutes in cool water (not ice water) and gradually increase the duration. Listen to your body and get out of the bath if you start to feel dizzy, lightheaded, or have any other problems.”
What are the benefits of cold plunging?
The benefits of ice bathing are linked to changes in the way your body circulates blood. According to Dr. Michelle Koolaee, DO, FACR, “While immersed in an ice bath, blood vessels begin to constrict, leading to a reduction in blood flow. Once you exit the ice bath, the body begins to quickly push blood back to those areas, which helps to reduce inflammation and promote the healing process.”
Studies back this up, too. According to a 2025 meta-analysis published in PloS One2, studies show that cold plunging may have positive effects on inflammation, stress, immunity, sleep quality, and quality of life. Though, more research is still needed to confirm the effects, especially for use cases like post-workout muscle recovery.
References
- Machado AF, Ferreira PH, Micheletti JK, de Almeida AC, Lemes ÍR, Vanderlei FM, Netto Junior J, Pastre CM. Can Water Temperature and Immersion Time Influence the Effect of Cold Water Immersion on Muscle Soreness? A Systematic Review and Meta-Analysis. Sports Med. 2016 Apr;46(4):503-14. doi: 10.1007/s40279-015-0431-7. PMID: 26581833; PMCID: PMC4802003.
- Cain T, Brinsley J, Bennett H, Nelson M, Maher C, Singh B. Effects of cold-water immersion on health and wellbeing: A systematic review and meta-analysis. PLoS One. 2025;20(1):e0317615.
- Herrera, E., et al. (2010). Motor and sensory nerve conduction are affected differently by ice pack, ice massage, and cold water immersion. Physical Therapy.
- Stanley J, Buchheit M, Peake JM. The effect of post-exercise hydrotherapy on subsequent exercise performance and heart rate variability. Eur J Appl Physiol. 2012;112(3):951-961. doi:10.1007/s00421-011-2052-7
- Kurniasari MD, Monsen KA, Weng SF, Yang CY, Tsai HT. Cold Water Immersion Directly and Mediated by Alleviated Pain to Promote Quality of Life in Indonesian with Gout Arthritis: A Community-based Randomized Controlled Trial. Biol Res Nurs. 2022;24(2):245-258. doi:10.1177/10998004211063547
- Srámek P, Simecková M, Janský L, Savlíková J, Vybíral S. Human physiological responses to immersion into water of different temperatures. Eur J Appl Physiol. 2000;81(5):436-442. doi:10.1007/s004210050065