

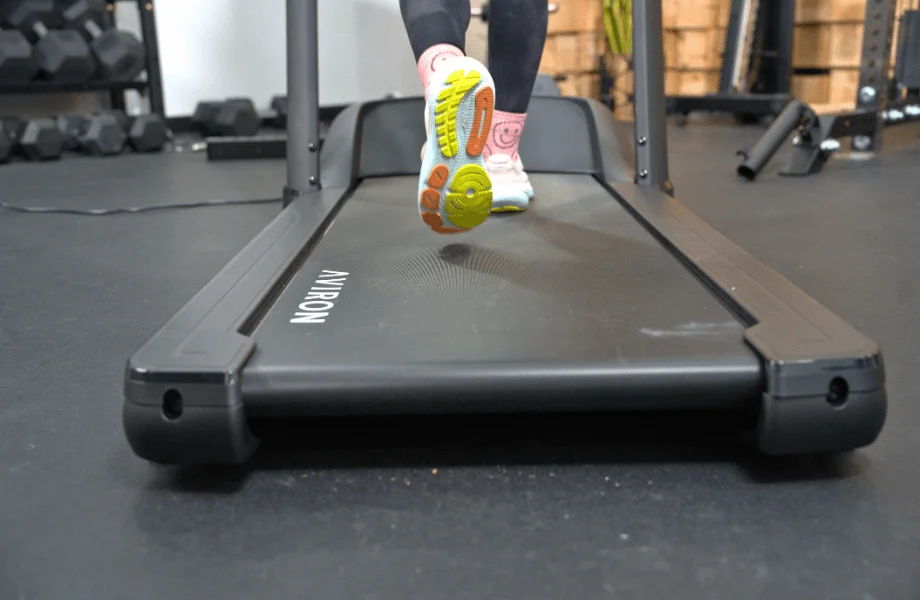
A treadmill belt takes a beating. After hundreds (or thousands!) of miles logged, even the best treadmills eventually show signs of wear. If your machine starts slipping, jerking, fraying, or sounding like a shopping cart with a bad wheel, it may be time for a replacement belt.
The good news? With a few basic tools (and a little patience), you may be able to tackle this repair yourself without paying for an expensive service call. In some cases, replacing the treadmill belt can even extend the lifespan of your machine by several years.
In this guide, I’ll walk you through how to identify a worn-out belt, the tools you’ll need, and the step-by-step process for how to replace a treadmill belt. If you’re trying to protect your investment, routine treadmill maintenance like this can go a long way.
How to Know If You Need to Replace Your Treadmill Belt
Treadmill running belts don’t typically fail overnight. It’s more likely that you’ll notice plenty of warning signs before they completely wear out.
Here are the most common indicators that it’s time for a new treadmill belt:
- The belt slips during walking or running
- You notice frayed edges or visible cracks
- The treadmill jerks while in use
- Burning smells come from the belt while working out
- The belt shifts heavily to one side
- You hear consistent squeaking or grinding noises
A worn treadmill belt can also put extra strain on the treadmill motor, rollers, and drive system. Ignoring the issue for too long may turn a relatively inexpensive repair into a much more costly one.
Trainer Tip:
Try readjusting the belt alignment and lubricating your treadmill walking belt first. Sometimes, inadequate lubrication mimics symptoms of a worn belt. If problems continue after lubrication and adjustment, a treadmill belt replacement is likely the next step.
Tools Needed to Replace a Treadmill Belt
Before you start, gather everything you’ll need. There are only so many last-minute trips to the hardware store you can take before calling it quits!
To replace your belt, you’ll need:
- Replacement treadmill belt compatible with your model (check your manual)
- Allen wrench set
- Phillips-head screwdriver
- Socket wrench set
- Cleaning cloths
- Treadmill lubricant (if recommended by manufacturer)
- Vacuum or handheld shop vac
- Work gloves (optional but helpful)
- Flashlight or headlamp (optional but very helpful)
Some treadmill brands include specialty adjustment tools with the original machine. Check your owner’s manual before starting. If you’ve lost these parts or tools, you may need to order them directly from the manufacturer.
Trainer Tip:
Always purchase the correct replacement belt for your treadmill model. Belt dimensions vary by machine, and using the wrong size can damage rollers or void the warranty. Always refer to your owner’s manual or call customer service to make sure you have the correct part.
Before You Start
Before disassembling anything, take a few precautions to make the process smoother and safer.
Unplug the Treadmill
Never work on a treadmill while it’s plugged into a power source. Even when powered off, accidental startup can cause injury.
Move the Treadmill to an Open Space
You’ll need room to access both sides and the rear of the machine. If possible, place it on a hard surface rather than carpet.

Take Photos During Disassembly
This is a simple trick, and it may seem silly, but it could save you from major frustration later on. Snap photos of bolt locations, roller orientation, and belt positioning as you go. Think of it as leaving yourself a trail of breadcrumbs to help you return to start.
How to Replace a Treadmill Belt: Step by Step Guide
When you’re ready to replace your treadmill belt, follow these steps:
Step 1: Unplug Your Treadmill
Before doing anything else, remove your treadmill from its power source. Power it down, unplug it, and move it into an area where you can comfortably work around the machine.
Step 2: Remove the Motor Cover
Use a screwdriver or Allen wrench to remove the screws that secure the front motor cover to the frame. Set all screws aside in a small container so they don’t mysteriously disappear into the garage abyss. Once removed, you should see the front roller and drive motor assembly.
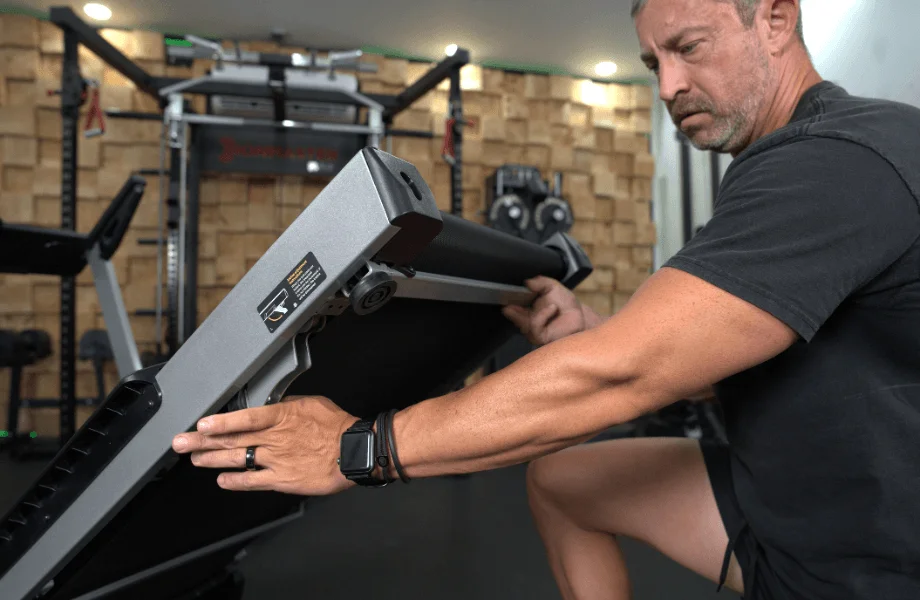
Step 3: Remove Side Rails
Treadmill foot rails can be secured in several different ways, depending on the model. In some cases, a single screw near the motor cover holds the rail in place, while other machines use multiple screws running along the side of the deck. You should also check underneath the rail for any bolts that may need to be removed before the piece will slide free.
If you’re working on a folding treadmill, you may need to raise and lock the deck into the upright position before attempting to remove the side rails. Some models include end caps that must be removed while the treadmill is folded; these are usually secured with one or two screws. Depending on the design, you may need to remove the foot rail while the treadmill remains upright or after lowering it back down, as well. Once the rail is off, you can continue the repair with the treadmill positioned flat on the ground.
Step 4: Loosen the Rear Roller Bolts
At the back of the treadmill, locate the rear roller adjustment bolts found on both sides of the deck. Using the appropriate Allen wrench, gradually loosen both bolts evenly. This releases tension from the walking belt. Avoid fully removing the bolts unless your treadmill manual specifically instructs you to.
Step 5: Remove the Rear Roller
Before removing the rear roller, label the left and right sides so you can reinstall it in the same orientation. Next, continue loosening the rear roller tension bolts evenly on both sides of the treadmill. Once enough tension has been released, the roller should slide out without much resistance.
Step 6: Remove the Front Roller
In many treadmill models, the front roller must also be removed to fully access the walking belt. Start by locating the screws or bolts securing the front roller assembly. Use a wrench or screwdriver to loosen them, removing the hardware completely, if needed.
Some treadmills also require the drive belt tension to be reduced before the front roller can come out. The drive belt connects the motor to the front roller and powers the belt during operation. To release tension, loosen the anchor bolts attached to the motor mount, but avoid taking them out entirely.
Step 7: Remove the Old Belt
With the tension released, first slide the belt off the rear roller, then carefully work it off the front roller. Some belts slide off easily; others may require more maneuvering. Once you remove the belt, inspect the underside for cracking, fraying, burn marks, and uneven wear patterns. These signs can help you identify whether lubrication, alignment, or excessive tension caused premature wear.
Step 8: Inspect the Deck and Rollers
Before installing the new belt, check the treadmill deck for excessive wear. A damaged treadmill deck may appear grooved, splintered, discolored, or unevenly worn. You should also inspect the rollers for dust build-up or damage. If the deck is heavily worn, replacing only the belt may not fully resolve any issues you’re experiencing.
Trainer Tip:
Running a new belt over a damaged deck is like putting brand-new tires on a car with bent rims. The new part may wear out faster than expected.
Step 9: Clean the Deck and Rollers
Once the old belt is removed, you’ll have full access to the treadmill deck and rollers. Take advantage of this by vacuuming dust and wiping down debris.
Trainer Tip:
Dust build-up under the treadmill can shorten the life of your machine’s motor. Don’t skip this step if you want to maximize the lifespan of your treadmill! Here’s how to clean your treadmill.
Step 10: Install the New Belt
Slide the new treadmill belt onto the deck, centering it carefully. Then, feed it over the front roller and the rear roller components. Make sure the belt orientation matches the manufacturer instructions, and that the belt sits evenly on both sides of the deck before you begin to adjust the tension.
Step 11: Re-Tension the Belt
Tighten the rear roller bolts evenly and gradually on both sides, and remember: The goal is proper tension, not maximum tension. A treadmill belt that’s too tight can stress the motor and reduce its lifespan by increasing friction between parts. On the other hand, a belt that’s too loose may slip during workouts. A rule of thumb is that you should be able to lift the center of the belt about 2 to 3 inches from the deck.

Step 12: Align the Belt
Plug the treadmill back in and run it at a slow speed—around 2 to 3 MPH. Watch the belt carefully to see if it drifts to the left or right. If it does, tighten the corresponding rear roller bolt in small increments. Make adjustments slowly, and allow several seconds between adjustments to avoid overtightening.
Step 13: Reinstall the Motor Cover
Now, you can put the hood back on your treadmill. Don’t overtighten any screws or bolts, because you might need to make additional adjustments after testing.
Testing Your New Treadmill Belt
Once the new belt is installed and aligned, you can test it.
Start by walking slowly (1-3 MPH) and gradually increase your speed. If a slow-to-moderate walking pace feels good, increase to a slow jog. If you run on your treadmill, keep increasing the speed until you reach your typical running intensity to make sure the new belt remains aligned and functioning at all paces.
As you test it, listen for unusual sounds (like creaking or whining) and monitor the belt for slipping or jerking. If the treadmill feels jerky or the belt slips, you might need to make additional adjustments to the tension or alignment.
Trainer Tip:
New treadmill belts sometimes stretch slightly during the first few workouts. It’s normal to need to make minor adjustments after the initial replacement.
Replacing a Treadmill Belt: Common Mistakes
DIY treadmill repairs are manageable, but these mistakes can create bigger problems down the road:
- Over-tightening the belt: This is one of the most common errors. Excessive tension increases strain on the motor and rollers.
- Skipping deck inspection: Installing a new belt on a worn deck can ruin the replacement component.
- Uneven roller adjustments: Turning one rear roller bolt more than the other can lead to alignment issues.
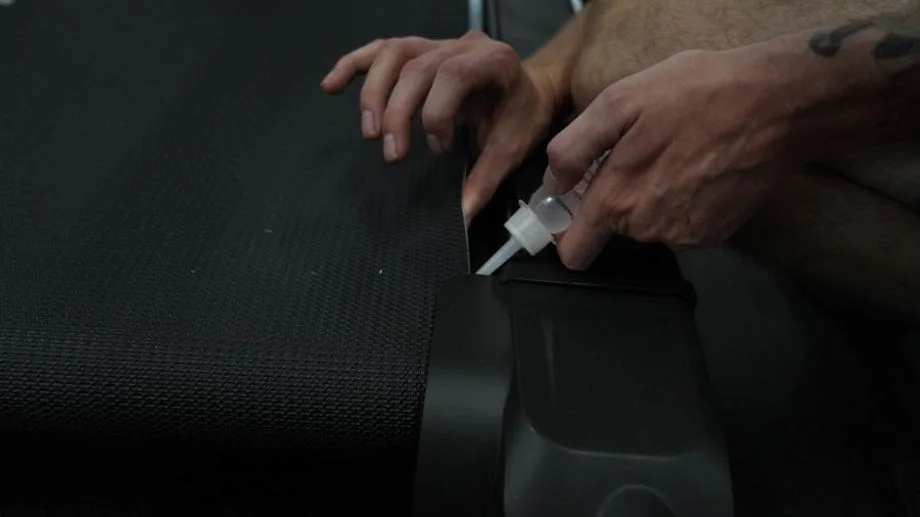
- Forgetting lubrication: Treadmill belts generally require lubrication before use. Always follow manufacturer guidelines for the type, amount, and frequency of lubrication.
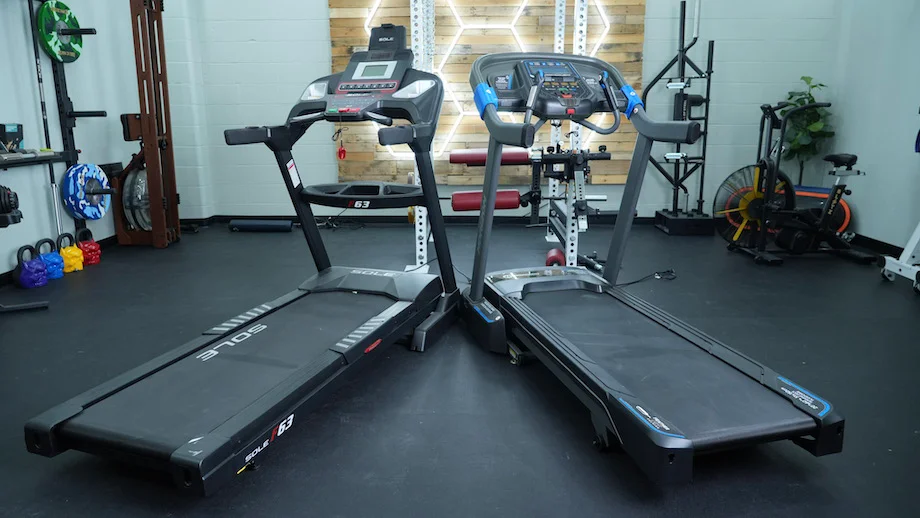
- Using the wrong belt: Generic belts may not fit correctly, even if the dimensions are listed as the same. It’s always best to get a Sole belt for a Sole treadmill; a ProForm belt for a ProForm treadmill; a NordicTrack belt for a NordicTrack treadmill; and so forth.
When to Enlist a Pro
While many treadmill belt replacements are DIY-friendly, some situations call for professional help.
Here’s when to consider hiring a technician:
- The motor appears damaged
- Your machine is having electrical issues
- The treadmill won’t power on
- The roller bearings are failing
- The entire deck requires replacement
- You’re uncomfortable disassembling and/or reassembling the machine
High-end commercial treadmills may also involve more complex drive systems that are best serviced by a professional. If your treadmill is still under warranty, check your coverage before attempting repairs yourself. Some manufacturers require authorized service technicians; otherwise, you could void the warranty.
Why Run on a Treadmill?
If you’re wondering whether it’s worth it to repair your treadmill, or if you should just lace up your running shoes and take it outside, here are a few reasons why treadmill running can be beneficial over outdoor running.

“Running on a cushioned treadmill is easier on the joints than concrete or asphalt, which helps with long-term joint health,” says Chris Mohr, PhD, RD, an exercise physiologist. “Treadmills also have a controlled environment, which is beneficial because there’s no weather, uneven ground, or traffic, making it safer and more consistent for training.”
Additionally, if you are training for a specific race, you can adjust speed and incline precisely, which makes it easier to stick to structured workouts.
That said, Mohr points out, “Treadmill running does not perfectly replicate outdoor running1 because the belt assists leg turnover, and you don’t deal with wind resistance or varied terrain. That can make the transition to outdoor running feel harder if the treadmill is your only form of training.”
RELATED: Treadmill Vs Outside Running
How to Replace a Treadmill Belt: Final Thoughts
Replacing a treadmill belt seems intimidating at first, but it’s a very manageable maintenance project with the right tools and preparation.
- It’s key to catch problems early. Small issues like slipping, fraying, or unusual noises often become bigger (and more expensive) if ignored for too long.
- Routine treadmill maintenance, including cleaning, lubrication, and periodic inspections, can help keep your machine running efficiently for many years.
- Always check if your machine is still under warranty before attempting to repair it yourself. You may be able to get professional assistance for no cost. (On a related note, never forget to register your product to get the treadmill warranty benefits!)
How to Replace a Treadmill Belt: FAQs
Can you replace a treadmill belt yourself?
Yes, many treadmill belts can be replaced at home using basic tools like Allen wrenches and screwdrivers. The difficulty level varies by treadmill model, but most home treadmills are relatively straightforward to service.
Is it worth replacing a treadmill belt?
Yes, if the treadmill motor and frame are still in good condition. Replacing a worn belt is significantly less expensive than purchasing a new treadmill.
What is the life expectancy of a treadmill belt?
Most treadmill belts last between 300 and 1,000 hours of use, depending on maintenance, workout frequency, user weight, and overall treadmill quality.
Is it worth fixing a treadmill?
If the treadmill frame and motor are still functioning well, making repairs might be the right move. However, if your fitness equipment is older with multiple failing components, it may not justify repair costs.
How do I tell if my treadmill belt is worn out?
Common signs include slipping, frayed edges, jerking during workouts, excessive noise, visible cracks, and a dry or slick belt surface.
References
- DeJong Lempke AF, Audet AP, Wasserman MG, et al. Biomechanical differences and variability during sustained motorized treadmill running versus outdoor overground running using wearable sensors. J Biomech. 2025;178:112443. doi:10.1016/j.jbiomech.2024.112443