A set of heavy-duty blocks can serve multiple purposes in any home gym. We use them for pulling weights, stack them to work as a squat rack, or jump on them for plyometric exercises. But a set of commercial blocks can be quite pricey.
As Sam “AsSAMbly” Presley, Garage Gym Reviews’ resident DIY gym equipment guru, says, “In my endless pursuit of saving money and being cheap, I love DIY projects.”
DIY pulling blocks can be built at a relatively low price, depending on the price of lumber. You can use supplies are available at Lowe’s, Home Depot, or even Amazon. Our step-by-step guide below walks you through how to put together these stackable blocks.
DIY Pulling Blocks Video Tutorial
Benefits of a DIY Pulling Blocks
If you’re on the fence about creating DIY pulling blocks, here are a few reasons why you should consider them for your home gym.
RELATED: DIY Weight Plate Tree
A Versatile Solution
Blocks are incredibly adaptable. For instance, Jacob Penner, a USA Weightlifting coach and GGR contributor, has built several sets of blocks over the years. He uses them in a number of ways in his gym, such as:
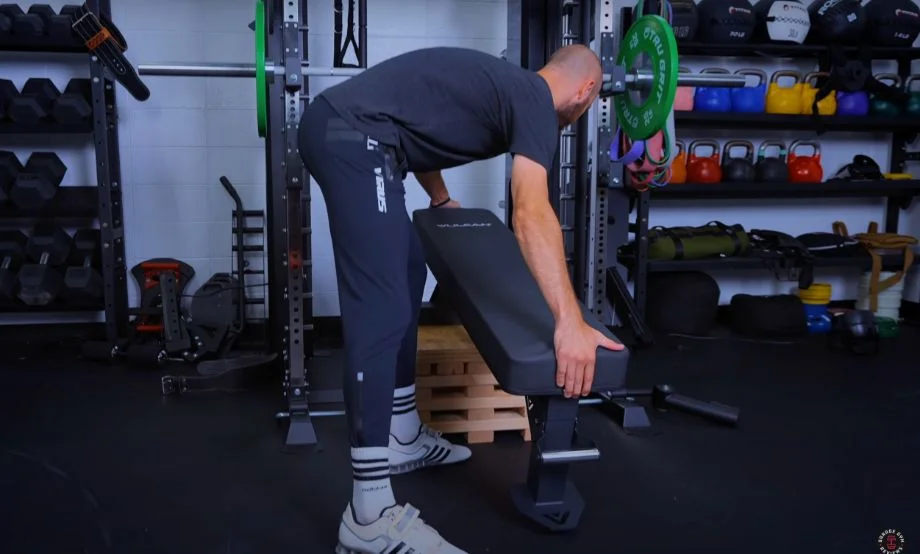
- To turn a flat bench into an incline bench
- Stack them for use as a power rack of sorts
- Use for variations of barbell deadlifts and Olympic lifts like snatches and cleans
- Use as plyo boxes for box jumps and heavy step-ups
But of course, it doesn’t have to be all work and no play either. As Sam notes, they are great “if you want to have a beer in the garage and have some buddies over” to lift or work out.
Highly Adjustable
If you purchase blocks from a retailer, you’re usually stuck with fixed heights. However, the DIY solution enables you to make the blocks any height you want.
As Jacob points out, “The standard plyo box is 20 inches by 24 inches by 30 inches … [and] a lot of people can’t jump on the 20.” For some of his beginner clients, Jacob built a smaller box that was way more sturdy than even some of the best plyo boxes.”
Durable and Sturdy
One of the things we like most is how these pulling blocks are durable enough to handle a lot of wear and tear. If you’re doing Olympic weightlifting or otherwise dropping weights onto the blocks, you may want to add horse stall mats to the top. As you might imagine, having bumper plates crashing down on them could break them down, but mats could make them useful for even longer.
May Be Cheaper
Building a gym for powerlifting and weightlifting can be expensive. After all, lots of gym equipment comes with a hefty price tag, like the Rogue Metal Pulling Blocks. A set of those is going to cost you just over $1,000. This, my friends, is why DIY is an attractive alternative.
For this project, the Garage Gym Review team built the two boxes for about $160. This is much cheaper than something like the Rogue Wood Jerk 15-inch Blocks that check in at $280 for the pair. So, if you can build jerk boxes and pulley blocks, it can be a great money-saving approach.
However, while it can sometimes save you a significant amount of money, it might be time-consuming. For example, cutting all the boards you need for the structure is time intensive. Also, your costs could spiral if you don’t already have the saws and tools you need for the assembly.
RELATED: DIY Weightlifting Platform
Materials List
There are some materials that you’re going to need to make these DIY pulling blocks. You should be able to get all of this for relatively cheap at your local hardware store. Home tools are also a must-have, and power tools can make everything even easier.
- 18 planks of 2” x 4” x 96” lumber
- 1 sheet of 4’ x 8’ plywood
- 150 2.5” deck screws
- Saw
- Handsaw
- Drill
- Circular saw
Look for hex head screws to reduce the risk of stripping your screws.
Step-By-Step Instructions for Pulling Blocks
Follow this step-by-step guide to build the most robust and durable pulling blocks possible.
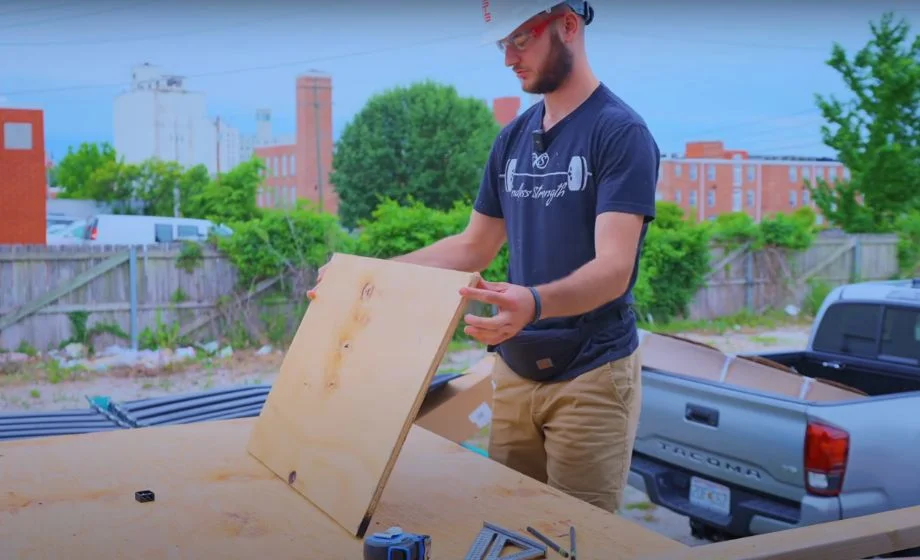
- Measure and mark a rectangle with 20″ x 30″ dimensions on the plywood. Cut along the marked lines. These will serve as the top piece for the utility blocks.
- Cut the two-by-fours into 30-inch boards. Make a total of 30 boards. These will serve as the height for the block.
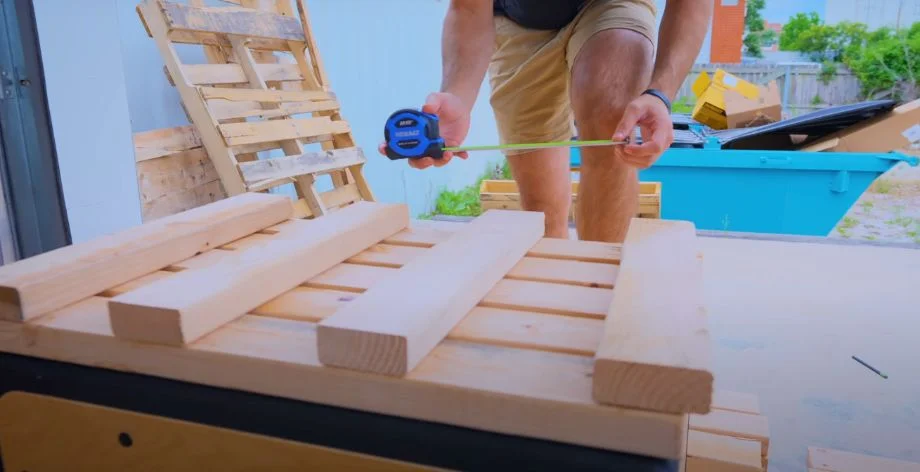
- Cut the two-by-fours into 20” boards. Make a total of 32 boards which will serve as the frame for the block.
- Lay the 30” boards in a rectangular shape. Use the 20” boards as the width for the frame. The corners will be mitered together.
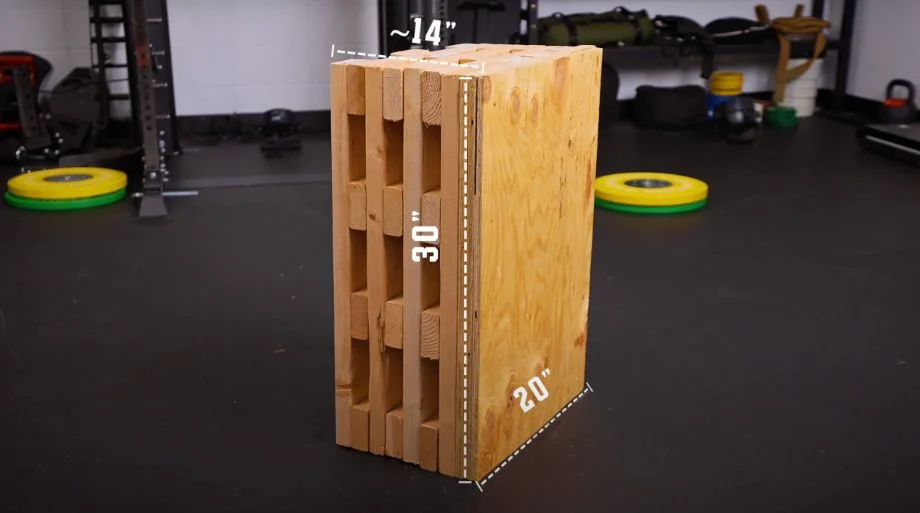
- Alternate stacking 20” two-by-fours and 30” two-by-fours, as indicated in the picture. Note that the top layer will have five 30” pieces for maximum stability. The other layers will only have three of these pieces.
- End the project by screwing the plywood board on top of the two-by-fours to give us the needed stability for the topper.
Expert Final Thoughts: DIY Pulling Blocks
These DIY pulling blocks are a neat tool for lifters, CrossFit athletes, functional fitness fans, and more who are looking for a way to add jerk boxes/jerk blocks to their home gym arsenal.
As a caveat, though, this project is not for everybody, as it takes some know-how to ensure the project goes off without a hitch. You also need to have access to various tools. If you need to go out and buy these tools, the DIY version quickly becomes a lot more expensive than the commercial ones, like the ones that Rogue sells.
Nonetheless, if you’re up for the challenge, these pulling blocks would be an excellent asset to one’s weightlifting routine.
FAQ: DIY Pulling Blocks
What can I use for block pulls?
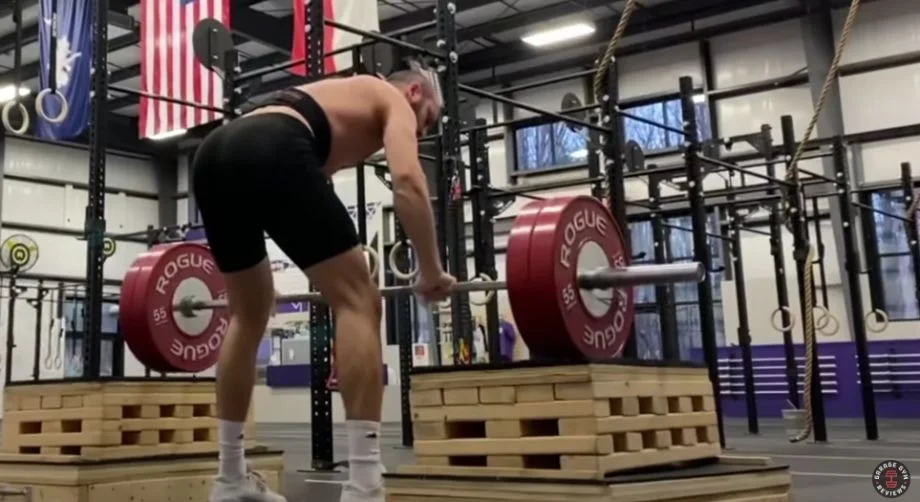
For block pulls, you just need an elevated surface to set your barbell on. Heavy wooden blocks, like DIY utility blocks, would do the trick. You can also stack weight plates, provided they won’t move much.
What are the dimensions of a pulling block?
It really depends on how you’ll be using them. However, 20 inches long, 30 inches wide, and about 14 inches tall should suffice for most weightlifting activities.
How do you make deadlift blocks?
You can make DIY pulling blocks and add horse stall mats to protect them. The steps may include:
– Measure and mark a rectangle with 20″ x 30″ dimensions on the plywood. Cut along the marked lines. These will serve as the top piece for the utility blocks.
– Cut the two-by-fours into 30-inch boards. Make a total of 30 boards. These will serve as the height for the block.
– Cut the two-by-fours into 20” boards. Make a total of 32 boards which will serve as the frame for the block.
– Lay the 30” boards in a rectangular shape. Use the 20” boards as the width for the frame. The corners will be mitered together.
– Alternate stacking 20” two-by-fours and 30” two-by-fours, as indicated in the picture. Note that the top layer will have five 30” pieces for maximum stability. The other layers will only have three of these pieces.
– End the project by screwing the plywood board on top of the two-by-fours to give us the needed stability for the topper.
Can you use plates for block pulls?
People do occasionally use plates for block pulls. You can use bumper plates or regular weight plates, provided that they stack cleanly and do not shift much.