Usually, we talk about how to spot someone, but today we’re talking about removing spots…from your rubber gym floor, that is. We covered the best home gym flooring options in the past. There are as many flooring options as there are types of athletes. We think rubber gym flooring is the best for most people, which is why we’re covering how to clean rubber floors today.
Maintaining your floors is key to keep them in good condition for weight lifting and cardio. You don’t want to spend all that time and money on your home gym floor just to throw it out the window by caring for it poorly. There are some general rules of thumb to maintain your rubber gym floor we’ll go over today. When in doubt, check with the manufacturer of your specific flooring for best practices.
Tools and Materials Needed to Clean Rubber Gym Floor
First thing first! Let’s gather materials. Before we get started cleaning, we need some tools of the trade. The general goal for cleaning rubber floors is to get them clean without scratching them. That means no abrasive materials, so no steel wool or scouring pads.
Here’s your checklist of things to have on hand to clean your gym floor.
- Broom or vacuum: Make sure your vacuum either has not beater brush or a soft beater brush; a hard beater brush could scratch your floors.
- Mop: There are a bunch of mop styles. Honestly, the best type will vary based on your specific floor. We’ll go over this in more detail later.
- Buckets (2): The two-bucket method will help you get the cleanest floors. It can also be one bucket that is divided.
- Soft-bristle brush: For spot-cleaning any trouble spots, use soft bristles so you don’t scratch the floors.
- Floor cleaning solution: There are a lot of options, you can go for store-bought, commercial-grade rubber floor cleaner, or DIY a cleaning solution with some dish soap. We’ll go further into the details later.
5 Steps to Clean Rubber Gym Flooring
Here we go, time to get into the good stuff. This is a general rubber floor cleaning process that’ll work for rubber floor tiles, roll-out flooring, and horse stall mats—essentially, whatever rubber flooring you have in your gym.
RELATED: How to Clean PLAE Forge and Achieve Flooring
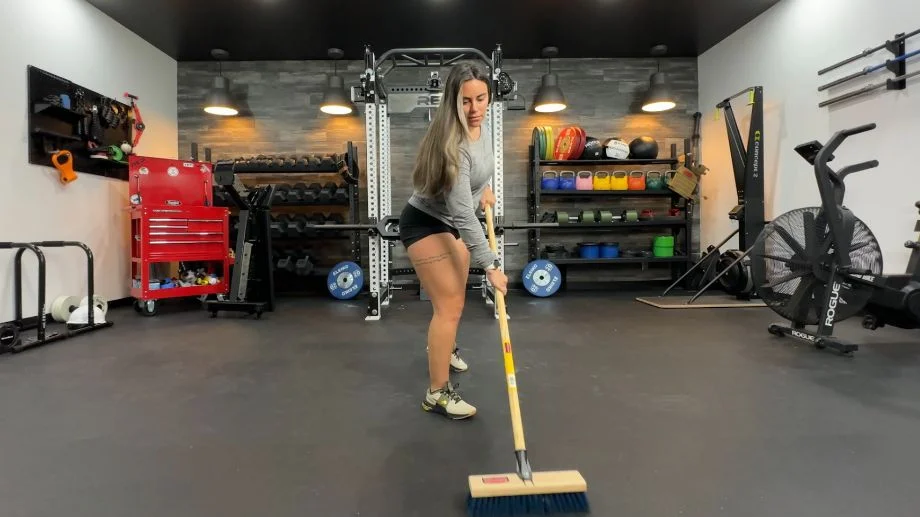
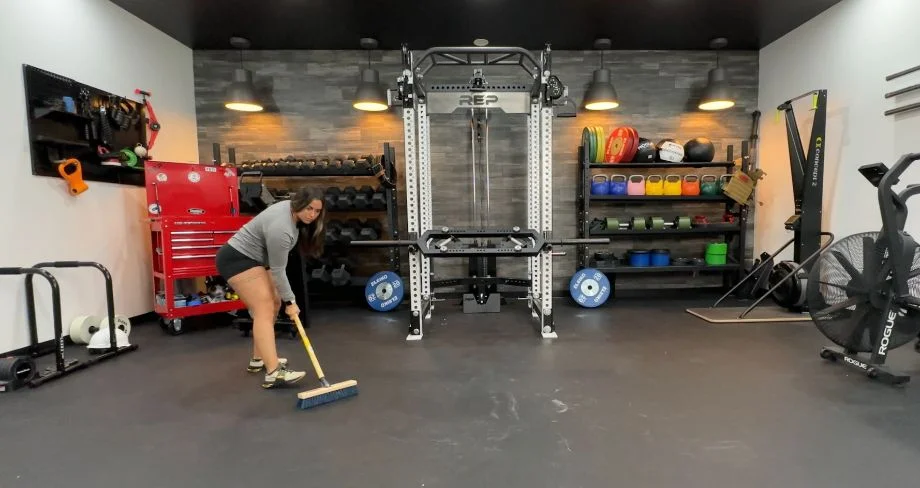
No. 1: Sweep/Vacuum the Floor
Before you do anything else, you have to sweep or vacuum. (This cleaning tip will also work in the rest of your house, too!) Clear up dust and debris before you get into mopping the floor. You can always use a leaf blower (which is our preferred method) to get the dirt out of your gym. This is going to be much faster, but this is only an option if you can blow the dirt outside. If your gym is in the house, you’ll have to stick with a vacuum or a broom. During this step, be on the lookout for any particular trouble spots that will need special attention
There isn’t a right or wrong answer here, as long as you get the dirt off the floor you’re good to proceed to the next step. If you skip this step, you’ll regret it. If you’re mopping a dirty floor you’re going to be left with… a dirty floor.
No. 2: Create Cleaning Solution
Now that the floor has been swept and vacuumed, we can get ready to mop. We have to create a cleaning solution. There are lots of options; the two main ones being a DIY solution or commercial-grade rubber floor cleaner. In general, stick with a neutral pH cleaner. We won’t get into the chemistry weeds, but this means it is neither acidic or basic and will have a pH of 7.
While you make the cleaning solution, fill up the second bucket with plain warm water.
Things to Avoid
Avoid harsh chemicals, solvent-based and oil style cleaners like bleach, Pine-sol, Lysol, and Murphy’s Oil soap. These cleaners will eventually break down and damage your rubber floors, which you’ve just spent money on and lovingly installed in your gym.
RELATED: How to Clean Rubber Flooring Inc 8 mm Rubber Rolls
No. 3: Spot-Clean Any Trouble Spots
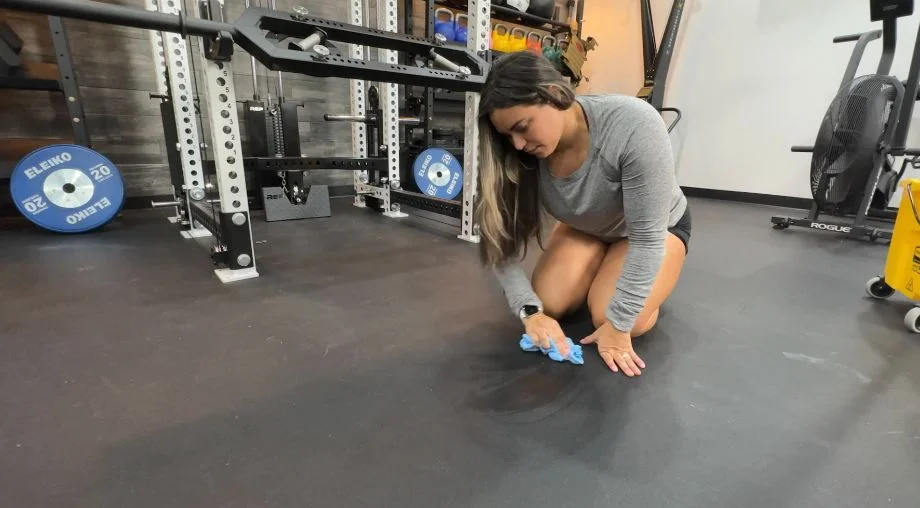
Remember those trouble spots you were on the lookout for during our vacuuming and sweeping step? We’re coming back to them now. You know your home gym best; the trouble spots will typically be in high-traffic areas where you workout the most. Maybe by the chalk bucket. Did you spill your sports drink the other day?
Before you start mopping the floor, cover any particularly dirty areas of the gym. This is pretty simple to do. Just use a soft bristle brush dipped in the cleaning solution and some elbow grease.
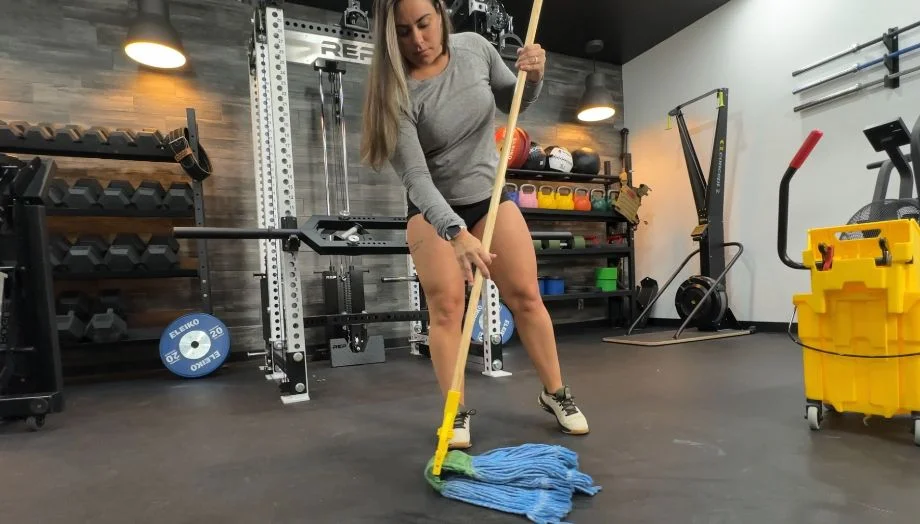
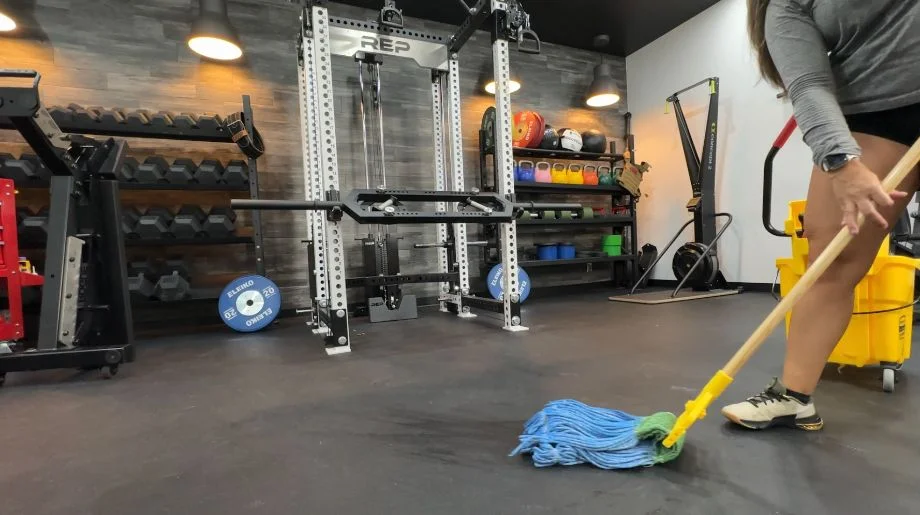
No. 4: Mop the Floor
On to the actual mopping!
You should have your chosen mop (more on that later), a wash bucket (with cleaning solution) and a rinse bucket (plain water).
Key Steps to Successful Mopping
It sounds simple, but there really is a good science behind mopping rubber gym mats.
- Dip your mop in the wash bucket and wring it out: You want the mop to be damp, so make sure you wring it out well. You do not want the floors to be soaking wet. If you don’t wring out the mop, you’ll get too much water on the mats, and the water may seep down to the subflooring through the seams.
- Mop the floor: Divide your gym floor up into manageable sections and take them on one at a time.
- Clean off the mop head: Dunk the mop head in the rinse bucket. Try to get as much dirt off the mop head as possible. If the mop head is dirty your floors will be too.
- Repeat steps 1–3 until you’ve covered the entire floor
- Optional rinse: If you’re using a commercial-grade rubber floor cleaner this step may not be optional. Generally these cleaners suggest you let the cleaning solution sit on the floor surface for 5-10 minutes. Rinse-mop the floor again, but only with plain warm water this time. When mopping with your DIY solution, the rinse step is optional.
NOTE: Make sure you are changing your wash water throughout the process. As you’re cleaning your floor, you’ll notice the buckets of water become dirty. If you’re mopping with dirty water, you’re just spreading dirt on your floors. Make some new cleaning solution and go get some clean water.
You’ll know when you need to change the water because it’ll be gross. Using the two-bucket system should cut down on the number of times you have to change the water. The number of times you’ll have to do this depends on the size and cleanliness of your gym. If you have a big gym or you can’t remember the last time you cleaned the floors, it might be a lot. If you have a small gym, or you clean often you might not need to change your water
No. 5: Allow to Air Dry Completely
You’ve mopped and now onto the final step: drying. The waiting may be the easiest or hardest part depending on your personality. Before you can start working out in your gym again, the floors need to dry completely. You don’t want to workout on wet flooring; that’s not safe, and it’s an embarrassing way to hurt yourself. Ideally, you’d wait 24 hours to get back at it. If you get antsy, drying overnight is acceptable. Try going for a walk or doing some muscle recovery while you wait. Your gym isn’t going anywhere.
If you have good weather, open windows and doors to create a cross breeze to get the floors dry quicker. You can also use your fans to speed up the drying process.
Picking a Mop?
There are different styles and materials of mops you can use on rubber gym flooring. The best one will depend on your specific flooring. In general, it is recommended to avoid a cotton mop with your rubber floors because they could leave behind lint. Let’s go over a few here:
Strip Mop
These look similar to string mops but are often made with synthetic fibers instead of cotton. They also have built-in wringers, which is important for making sure you don’t soak our gym floors. They are best used in a figure-8 pattern rather than straight lines.
Flat Head Mop
This is exactly what it sounds like. These often use easily washable microfiber covers on a flat rectangular mop head. They do not use a bucket, they often have onboard compartments that spray cleaning solution, you can also use a spray bottle. They aren’t great with textured floors or scrubbing trouble spots. They’re best for daily cleaning rather than deep cleaning.
Sponge Mop
Also, what it sounds like! These combine a sponge mop head and a built-in wringer. Like with a kitchen sponge, you need to make sure the sponge dries completely between uses so it doesn’t spread bacteria. If you’re using this, it’ll be easiest to mop in a straight line.
String Mop
This is probably what you envision when you hear “mop”, a classic. They’re generally made of cotton, and may be difficult to wring out. Not what I would go with for my gym.
Floor Scrubber
Not a mop, but should you use an autoscrubber? They’re mostly used in commercial gym settings where floors with larger spaces and floors that need to be cleaned more often because of the high traffic. If you have a giant home gym, really hate mopping, and have space to store it, yes, go for it. They’ll give you a great deep clean, but they’re expensive. It’d be overkill for almost all home gyms.
RELATED: How to Clean American Floor Mats Fit Lock Rubber Tiles
Optional: Seal Your Rubber Gym Floors
Rubber floor sealant can help prolong the life of your gym flooring. Rubber is porous and the seal will cover that porous surface making your floors last longer and make your floors look new longer.
Sealing is mostly for commercial gyms that see extremely high use. If you have a high-traffic home gym, you may want to seal your gym floors. Sealing, used along with seam sealer, will help make your flooring more water-resistant. If you want to make sure no water gets to your subfloor, use a seam sealer where your flooring meets. Other than the seams, rubber floors are extremely water-resistant, even without sealant.
If you want to seal your rubber floors here is the process:
- Clean your rubber floors with neutral pH cleaner and allow them to fully air dry
- Apply the sealant in small sections using a sponge mop, paint roller with long handle, squeegee, or PADCO type floor applicator. Apply in thin coats and allow to air dry completely between coats. If you don’t do these things the sealant may develop a haze
- Apply another coat and allow it to dry.
- The number of coats will depend on the sealant you use, but generally at least 2 and no more than 4
- After the surface dries for a full day, you can return to normal use and maintenance
This is optional. The vast majority of home gym users do not need to seal their rubber floors.
Can You Use Bleach on a Rubber Gym Floor?
Bleach: Should we use it? It is not forbidden, but honestly, you don’t need to bleach your rubber floors. You can get clean floors without using harsh chemicals. If you want to disinfect the floors, a commercial-grade rubber floor cleaner will accomplish this. Bleach is a harsh chemical, and if you’re using it you want to make sure you’re using it safely, for you and your floors.
If you choose to use bleach, here are a few tips to keep in mind:
- Don’t mix bleach with other cleaners!
- Dilute the bleach: Clorox recommends 1/3 cup bleach with 1-gallon cool water.
- Wear rubber gloves and eye protection
- Work in a ventilated area: open windows and doors
The bleach can damage your flooring if it is not diluted properly. Prior to cleaning, test the diluted bleach solution in an inconspicuous spot of your flooring. Clorox recommends letting it sit for 1 minute, rinsing and then blotting dry. If the mat remains the same color you can safely bleach it.
How to Clean Rubber Gym Floor: Final Thoughts
We’ve covered a lot. Hopefully you feel ready to clean your gym floors. Here are some main takeaways to remember:
- Nothing abrasive: don’t scratch or leave scuff marks on the flooring
- When in doubt, check with the manufacturer for instructions
- Sweep/vacuum first!
- Use two buckets
- Let your floor dry before using it again
How to Clean Rubber Gym Floor: FAQs
Can you wash rubber gym flooring?
Yes, you should wash your rubber floor mats. Regularly cleaning your gym equipment will help it last longer and nobody wants to workout in a gross gym. You wouldn’t leave chalk on your barbell. Don’t leave your floors dirty.
How do you clean an interlocking rubber gym floor?
Interlocking rubber tiles can be cleaned the same way as other rubber floor mats. You’ll just want to be extra careful about not getting excess water on the mats. There are a lot more seams for water to seep through to the subflooring with interlocking mats. If you want to really deep clean them you can take them outside and hose them down. Let them air dry and then reassemble your floor. Simple vacuuming and mopping should do the trick though.
What is the best way to clean rubber mats?
The best way to clean rubber mats is by
Vacuuming/sweeping
Mopping- with a gentle cleaning solution
Air dry
What should you not clean rubber with?
Don’t use abrasive cleaning tools like steel wool or scoring sponges. Avoid harsh chemicals like bleach and solvent or oil-based cleaning products like pine-sol and Murphy’s Wood Oil Soap.