Weighted vests are a popular type of gym equipment for good reason. If you’ve tried one of the best weighted vests before, you know they are a great way to make bodyweight movements more challenging, building your strength and endurance.
However, a good weight vest can come with a hefty price tag. The good news is that you can make a DIY weight vest that will check in for less than $75, according to Garage Gym Reviews founder and resident DIY gym equipment expert, Coop Mitchell.
Therefore, keep reading if you’re ready to make your own heavy-duty DIY weight vest!
DIY Weight Vest Video Tutorial
Benefits of a DIY Weight Vest
Why should you make your own weight vest? Read on for all the benefits!
Great Versatility
Weight vests are ideal for all types of training methods: CrossFit, bodybuilding, powerlifting, functional fitness, and more. Some of the different ways you can use your DIY weighted vest include:
- Training for Murph
- Weighted pull-ups
- Weighted push-ups
- Squats
- Calisthenics
In addition, these weighted vests aren’t just for those interested in fitness, either. They can also act as sensory-weighted vests that can greatly benefit those with autism or other neurological disorders. This vest serves the same purpose as a weighted blanket.
Really the only limit on how you can use your weighted vest is your own creativity.
Highly Customizable
There are many ways to adjust your DIY weighted vest. One of the easiest adjustments is that you can always increase or decrease how much weight you are carrying with the weight plates. Depending on the type of plate carrier vest you purchase, you may also be able to size the vest to fit your body.
It’s Relatively Easy to Do
Another perk of these adjustable weighted vests for bodyweight exercises is that you do not have to be super handy or be a great sewer to DIY it. In fact, if you buy the basic vest we did on Amazon, you don’t even need a sewing machine to complete the project. However, you can always try to be more ambitious with your work, especially if you add weight and go above the 20-pound mark.
Most of the vests out there have easy-to-use Velcro systems to connect and secure everything, but you may want to add buckles to yours, too.
Materials List
You will need several items to build your homemade weight vest. Many of these items can be bought locally, but you can also shop on Amazon.
- Plate carrier tactical vest
- Cardboard
- A pen
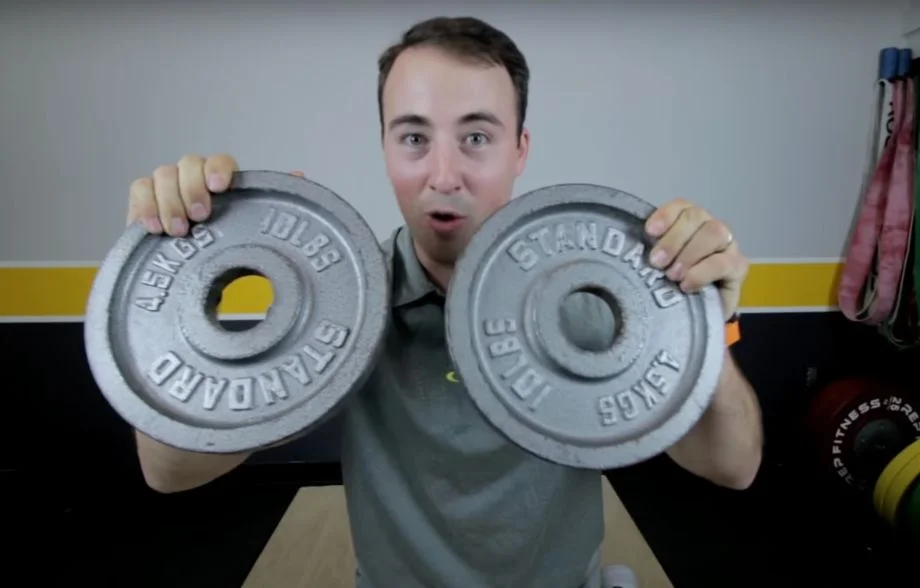
- Weight plates
- A knife
- Zip ties
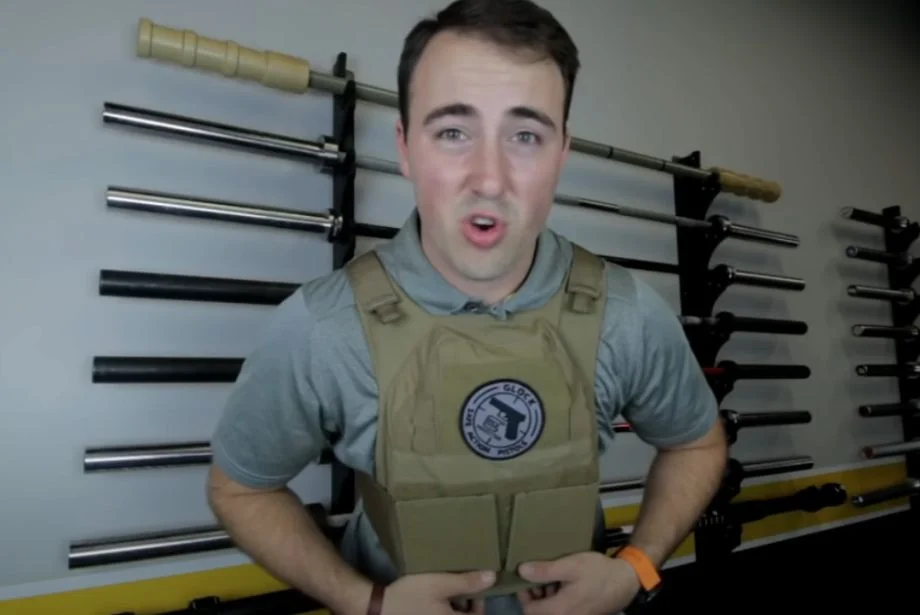
The plate carrier vest Coop bought costs around $50 on Amazon and is also used by many of the commercial manufacturers who just slap on their own logos. As Coop explained, “It is pretty much exactly the same one that all the companies are using… They are just buying them in bulk and putting their own logo on them.” The exception to this is 511 Tactical. They use a different carrier.
Steps for a DIY Weight Vest
- Buy a tactical vest on Amazon. The one we recommend costs around $50 and can hold up to 20 pounds. “One of the issues with plate carriers,” according to Coop, “is that they bounce around.” But there are ways to work around this.
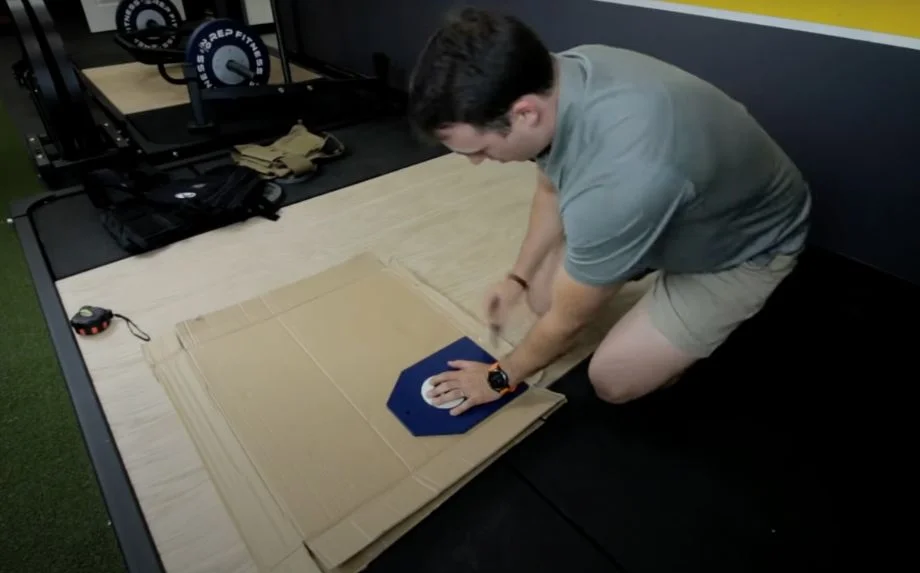
- Take a plate carrier and trace it out on your cardboard.
- Flip the plate carrier over and trace it out on the opposite side.
- You will then use your knife to cut out the cardboard tracings.
- Repeat this same cardboard tracing and cutting one more time.
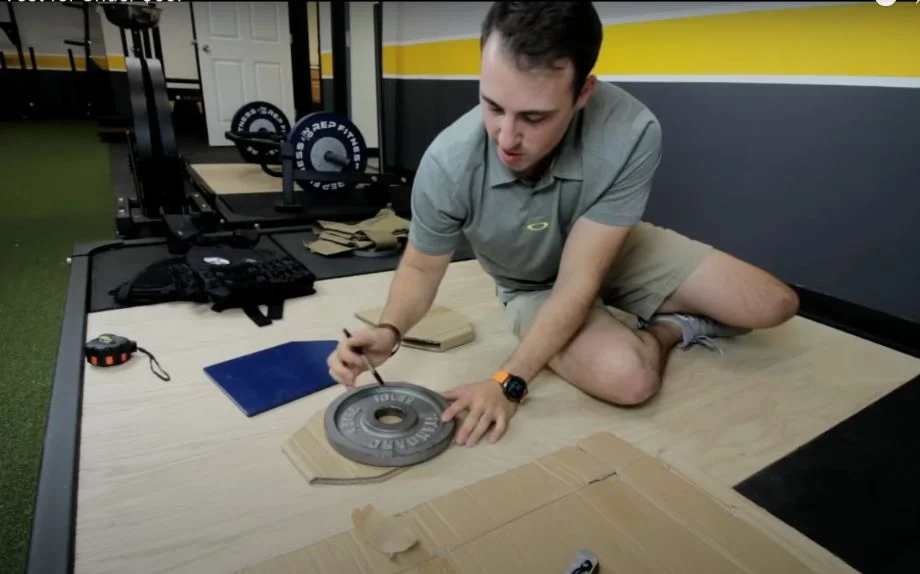
- Place your weight plate on the cardboard tracing and then draw a circle around the whole in the center. When you line this up, ensure that the bottom of your weight plate aligns with the bottom of the cardboard.
- Next, cut this circle out, giving you your plate carrier.
- Slide the weight plate into the plate carrier and then use zip ties to secure them. Even though we highly recommend zip ties for these connections, duct tape is another option.
- Coop half-jokingly describes this next part “as the most important step.” Brand your plate carrier with whatever logo or brand that appeals to you.
- Slide these plate carriers into the pouches of the vest you bought and ensure they are secure. Most of these vests have a velcro system to keep everything nice and stable.
- Once all these steps are done, you are ready to do Murph or other bodyweight workouts.
Final Thoughts: DIY Weight Vest
From adding extra punch to your strength training routines to spicing up your cardio or calisthenics, a DIY weight vest is a good investment. The benefits are gigantic, and the costs are minor. This checks in at less than $75 and is incredibly easy to assemble. Coop notes that the DIY version is no worse or less user-friendly than the far more expensive commercial versions.
FAQs: DIY Weight Vest
How do you make a weight vest at home?
You just need a tactical vest, cardboard, pen, knife, zip ties, and weight plates of your choosing. Simply trace both sides of the plate carrier with your pen, and cut out your tracings. Then line up the weight plate with your plate carrier and trace a circle where the hole is. Cut the hole out and use zip ties to secure your weight plate and plate carrier. Afterward, slide your plate carriers into the vest pouches and use the velcro is to secure it. From there, you should be good to go.
What to do if you don’t have a weighted vest?
If you don’t have a weighted vest, one easy alternative is using a backpack. Just toss some books in there to increase the weight. However, be careful not to add so much that it begins to cause pain.
How heavy should a weighted vest be?
As with any other type of weight training, whether you are using dumbbells, barbells or sandbags, you should always start light before adding weight. A good place to start is between 10 to 20 pounds. Depending on what you’re doing, as you get stronger, you can consider adding more weight.
Are weighted vests good for you?
Yes. Weighted vests (like weighted belts) are a great way to enhance strength, spice up workout routines, and increase muscular endurance.